Useful origami is under appreciated. This simple and easy to fold bookmark fits onto the corner of the page and it’s a treasure if you love reading. Because the design includes a tab, you can also use it to create multiple tagged sections in books or files. If you’re a bibliophile, this should be the first origami you learn to make on demand.
Instructions
Step 1

Start with a square paper, color side down. Fold along both the diagonals of the square and unfold the paper flat.
Step 2

With the colour side facing up, fold one of the corners to the central point of the square.
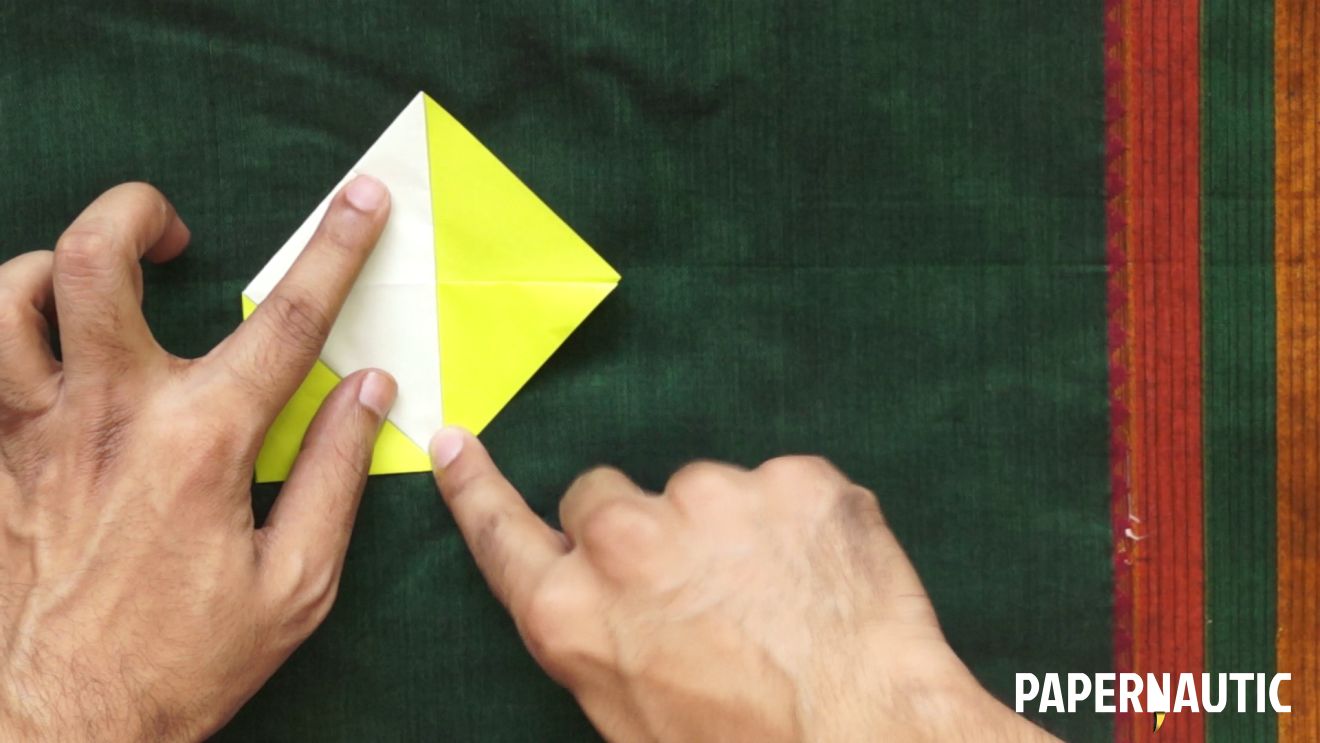
Step 3

Now flip the paper over and fold the opposite corner to the central point as well.
Step 4

Hold the model like this, with the flat edges on the side. This horizontal crease is what we need to fold along.
Step 5

This is where you have a choice. You can fold it in half with a mountain fold or a valley fold. When you fold it in half, the small triangle on the side goes on to become the tab of the bookmark, so choose what colour you want. I wanted a coloured tab, so I choose the mountain fold like this.
Step 6

With the folded edge on top and a corner of the square pointing down, we need to make a bit of a complex fold along this crease, so look carefully. Fold the top layer of paper along the central crease.
Step 7
Fold that half of the paper flat towards the tab, and spread the right side edge flat into this broad triangular shape.
Step 8

Fold the bottom corner over that broad triangle we just created, so you create a crease along that diagonal line.
Step 9

Now tuck in all those loose layers into the pocket under the broad triangle.
Step 10

To clean up the tab part of this, fold the left corner of the tab a little over the opposite edge.
Step 11

Unfold it and use that crease to inside-reverse fold that smaller triangle in between the layers of the tab.
Step 12

Clean up the edge so that the tab is a neat trapezoid shape, and your corner bookmark is ready to use.
You insert the corner of your page into the large triangular pocket to bookmark it, and enjoy reading.
P.S. Please subscribe to Papernautic on YouTube to keep track of the latest videos and tutorials.