Quilling has been one of those internet wonders, a rather obscure craft brought into the public consciousness by innumerable forwarded emails and shared list-posts about astonishing art. The idea of building these complex graphical images, with a bit of a third dimension added in, using curled up strips of paper is astonishing enough at least to warrant some of the hoopla, and what always drew me to the technique were the many intricate executions of typography and words using it.

Paper filigree is an alternative name for quilling it seems, something I only recently found out. I also always wrongly assumed it was a modern craft, when in fact it finds its roots in medieval illuminated manuscripts. That’s quite the pedigree to follow in, but follow I did want to, so when a friend recently pointed me to some pictures of quilled snowflakes over the holiday season, I decided that would be a good place to start. It was time to get the hands dirty with some paper and glue, really the only way to learn paper craft.

Materials
Cutter, cutting board and metal ruler
Any sort of paper cutter will do. Simple straight cutting doesn’t require a precision sharp-point knife like the XActo or equivalents. Your standard tough craft knife will more than suffice. The one I use with the breakable replaceable blades serves me well.
A good metal ruler and a self-healing rubber cutting board of any size is always your friend in all things crafty.
Paper
Quilling paper has become a fairly specialised thing as the popularity of the craft has grown. Like origami paper, paper specifically meant for paper filigree is often available in a variety of colours and pre-cut into evenly wide strips. I didn’t have access to that and starting from scratch was a better learning process anyway, so I worked with A4 sheets of 160gsm copy paper and cut them down into strips. The 160gsm paper gave me something tougher and more forgiving to work with too.
Glue
I used some clear solvent-based glue. Nothing very specific. I’m sure you could also use white glue, but solvent-based glue has the advantage of coming in tubes with sharp nozzles for precision and has slightly quicker drying times, which can help while assembling intricate things.
Tweezers
A simple pair of tweezers is quite useful in assembling quilled pieces. They help hold together tiny sections of paper that need to stick together with glue to keep the whole thing stay in one piece. I got my pair from a precision screwdriver set I have around for general tinkering. This may not be essential, but it is very useful and will save you a lot of time in redoing things.
Quilling Tool
A quilling tool is basically a very thin bolt of metal. Like a very strong blunt metal pin in a plastic holder. You use the pin to curl the strips of paper on, to get tight and smoothly wound shapes. I didn’t actually use one on this experiment. Also, you can just as easily use the service-end of a fine precision screwdriver, or a nail or any number of smooth metal things to get the same effect. Here I mostly relied on fingers to curl things without assistance, but I can see how a tool of some sort would speed things up and give you smoother results. See what works for you.
Process
I was working with a friend on this for a significant part of the process and we really didn’t have any plan other than, “it would be really fun to make one of these intricate snowflake things.” So we did work on it in a very flexible way, leaving room for adjustments.


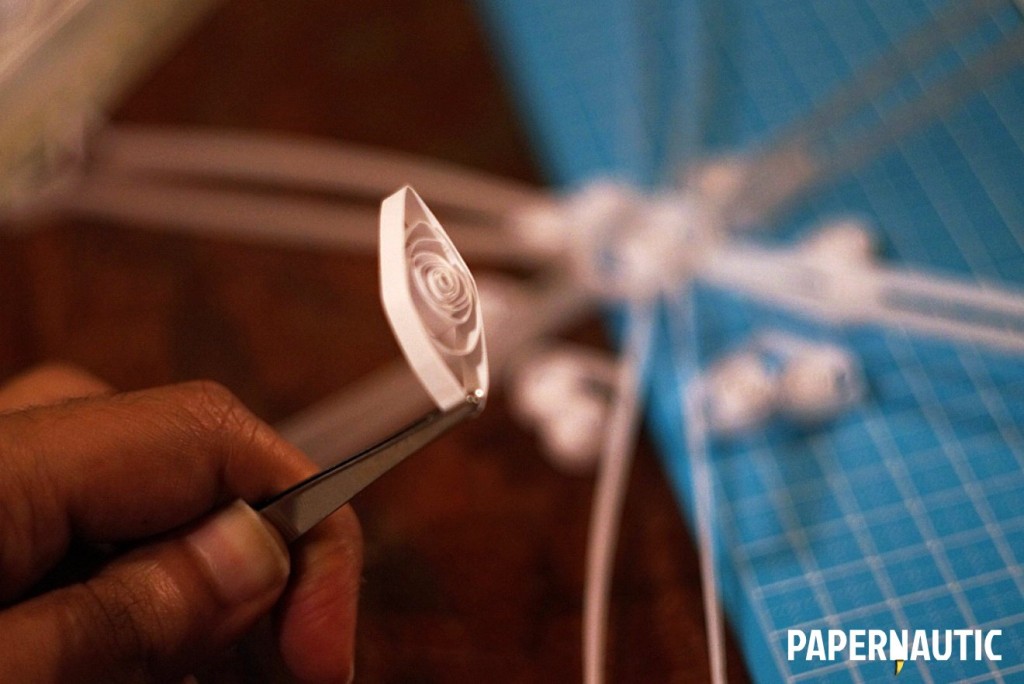
The paper was cut into mostly even strips and kept ready for curling. The one sure part of the design was that it needed a centre and spokes that grew out radially to form the classic symmetrical snowflake shape. Not all snowflakes look like that, but it’s certainly the popular ornamental image of them. So a curl of paper fixed within a circle, and a set of straight radial spines were made first, to form the major skeleton of the snowflake. To take a first try at making the more typical quilling shapes we also took a bunch of strips and started creating s-shaped spirals of them, making sure we created a proper number for the number of sectors our design would end up having.


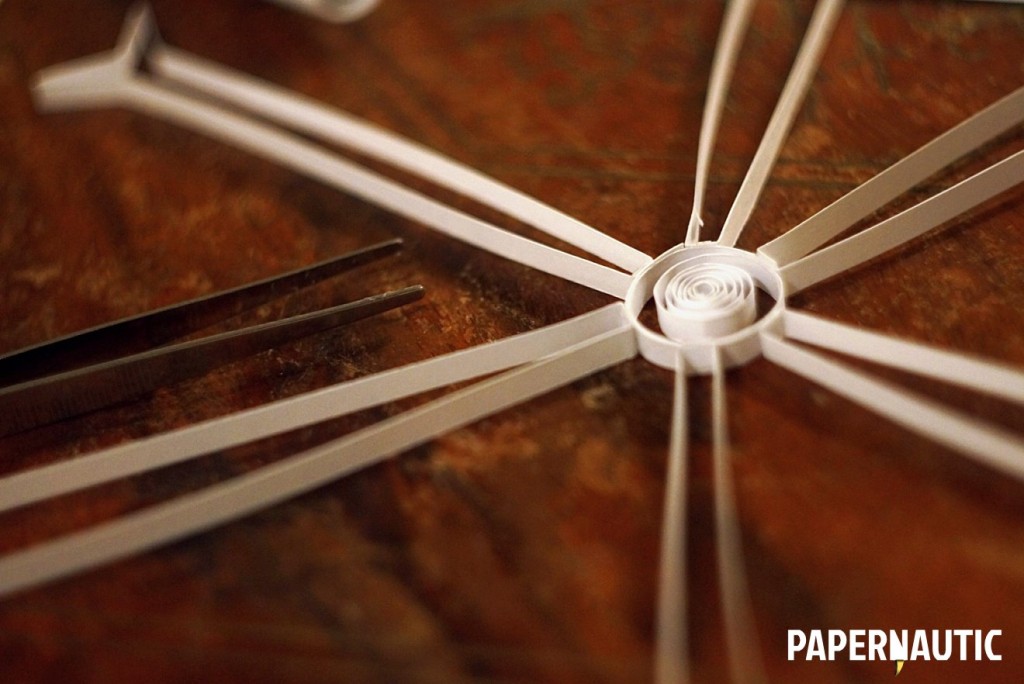
Th major task to get things started on the actual ornament was to construct the skeleton, fixing the radial spokes to the central circle. We didn’t pay too much attention to measurement and precise placement, relying more on approximation to place the spokes evenly along the circle. It didn’t end up being mathematically perfect, but as you’ll see, it doesn’t mar the result at all.
The next task was to create the mass of curled shapes that would form the mass of the design. So eye-shaped motifs were made to add some interest and structure to the radial spokes, as were vaguely heart-shaped spirals to fill up the central portions and more s-curves and simple spirals of various sizes. All-in-all, only a handful of different shapes were made to be repeated in each sector of the pattern, and they were chosen at random with no plan of how they would fit together in the final.
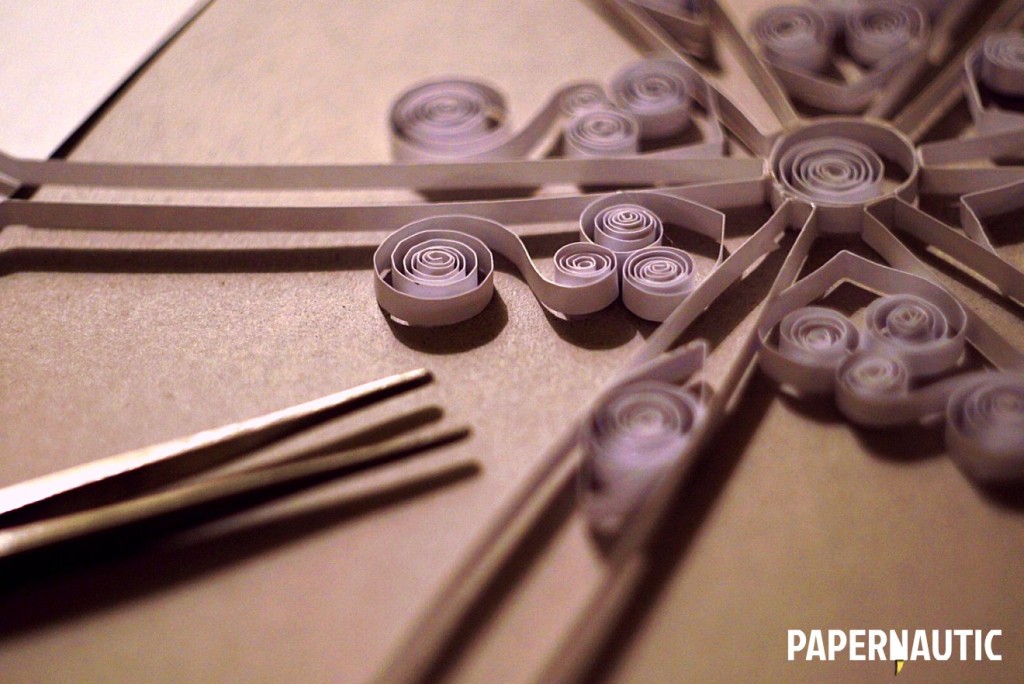
The benefit of pre-curling all these shapes is that it allows you to play around with arrangements and see what works best before you stick things down and make them permanent. The final process becomes one that’s more like assembling a jigsaw puzzle, rather than building from scratch with no idea where you’re going. I think that is a good way to start, though I can see the benefit of more free-form spontaneous experiments once you’re comfortable doing this.

Slowly, the shapes fit into each other, the symmetry was created, and over several days of occasional relaxed work, the snowflake ornament came together nicely. I think the final ornament is a thing of beauty and I like how there was an element of surprise about it even for me, the person who put it together. Such small rewards are what always attracted me to paper craft.

I will definitely do more quilling in time, and while this initial experiment isn’t enough for me to make any generalisations about process, I will say this, if you want to try your hand at paper filigree, be slow, prepare pieces in advance so you can play a bit during the assembly of it, and most of all have fun. The hour or two I spent putting this together, at a very leisurely pace over a week, were some of the most joyful and relaxed times I have had in a while.
Enjoy your explorations, and welcome to Papernautic.