Origami creates many fine sharp shapes because of the way paper folds. This is the reason why there are so many bird models in the craft. The forms of birds fit very well with the sort of shapes you can create easily with paper. Other animals have more varied body shapes, making them more challenging to create, but sometimes you get lovely minimal stylised versions of common animals and this simple fox is one of those.
Best Paper for the Origami Fox
Use a square sheet of regular origami paper. I chose a nice deep orange to make a more graphical fox.
Origami Fox Instructions
Step 1

Keep the coloured side down and fold the square in half along the diagonal.
Step 2

Fold the resulting triangle in half to make this four-layered triangle. Make sure the crease is sharp.
Step 3

The triangle has two loose ends at one corner. Fold one of them to the opposite corner. Crease it down.
Step 4

Flip the model over and repeat that last fold on the other side.
Step 5

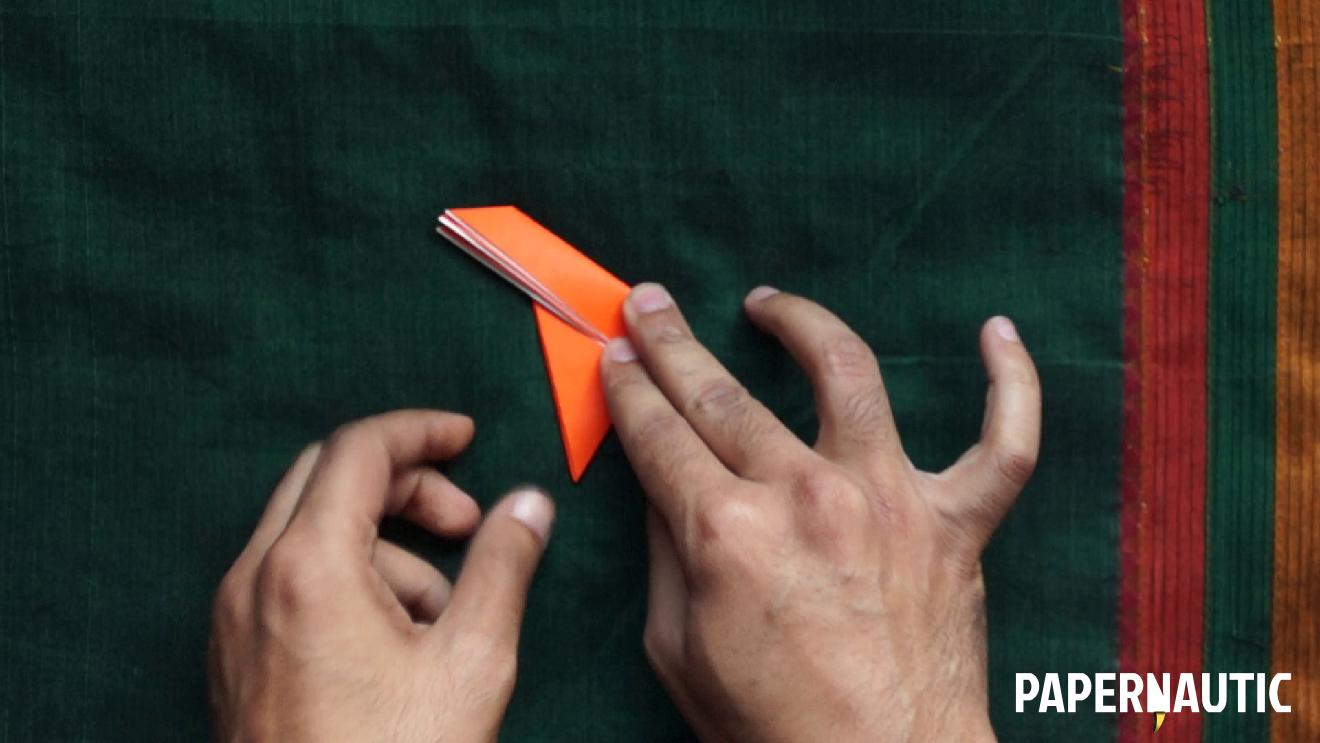
You now have this small many-layered triangle shape, with this sort of zig-zag fold along one edge. That is the side we are interested in.
Step 6

Choose a line that’s parallel to that edge of the model … say about a quarter of the width of the whole thing, and fold all the layers along that line.
Step 7

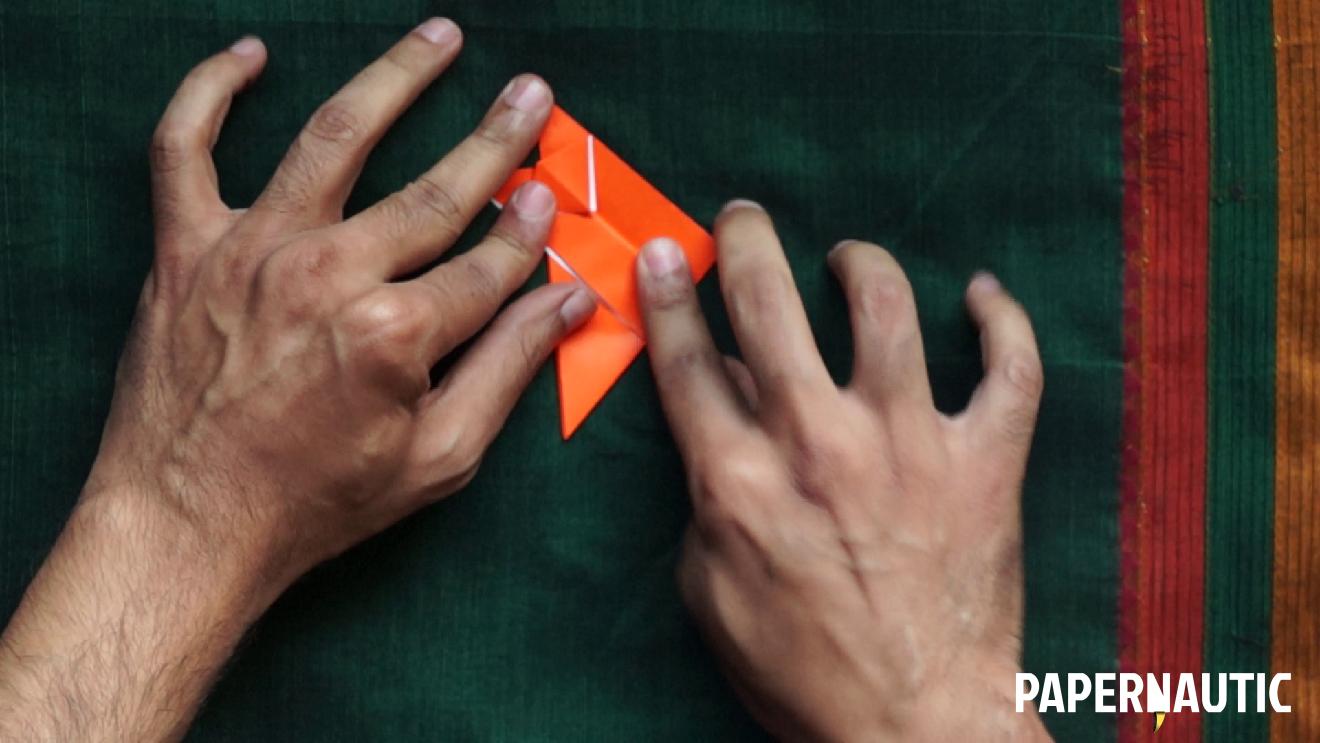
Partly open up the fold you just made and separate out the layers.
You’ll see a central portion like this with a pointed shape at the top.
Step 8

Fold the remaining layers back down so that that pointed top shape can be folded downwards to form the head of the fox.
Step 9

You can already see a simple fox shape. The remaining corner on the left will form the tail. Lift it and fold it inwards so the point of the tail reaches the central fold under the fox’s snout.
Step 10

Unfold it partially so that it can help the model stand, and you get this very cute and convincing fox to watch over your desk.
Do try it out.
P.S. Please subscribe to Papernautic on YouTube to keep track of the latest videos and tutorials.