There are many origami models based on traditional Japanese culture, but as the craft has spread, other cultures have slowly joined in. I didn’t find many Indian origami designs growing up, so several years ago, I designed my own origami Diwali diya. An Indian oil lamp that’s used widely during Diwali, the festival of lights. I hope you enjoy this Papernautic original.
Origami Diya Step by Step Instructions
Step 1
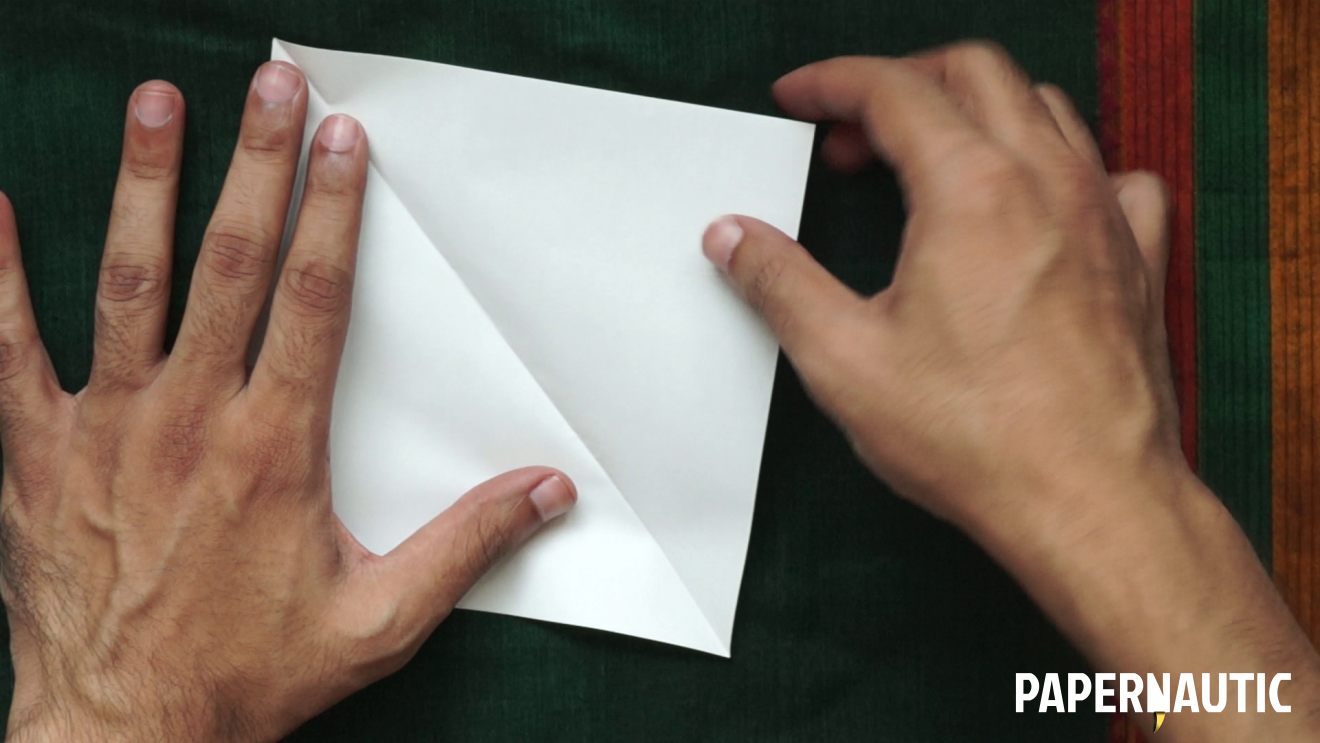
This model works best with paper that’s not too thin. With the square paper colour-side down, fold along one diagonal and unfold flat.
Step 2
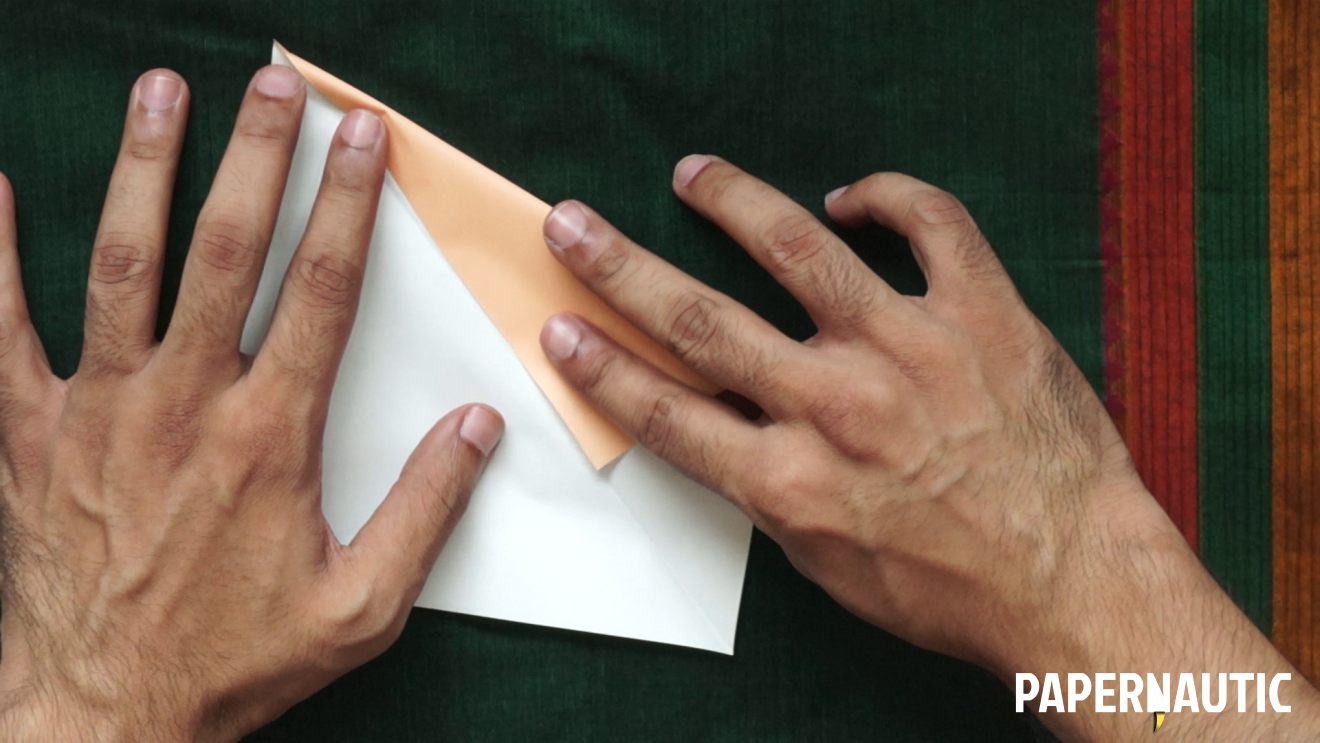
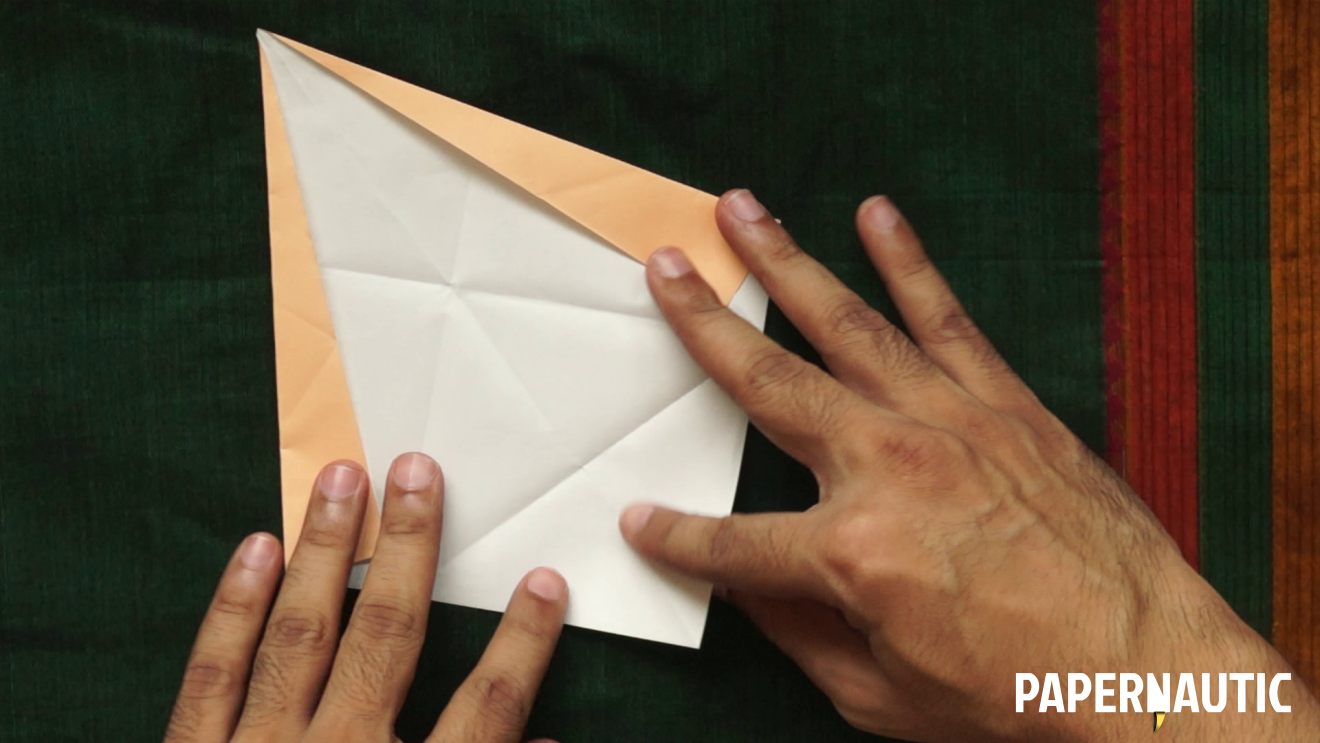
Fold one of the top edges of the square towards to diagonal crease.
Step 3
Also repeat on the opposite edge to make it symmetrical.
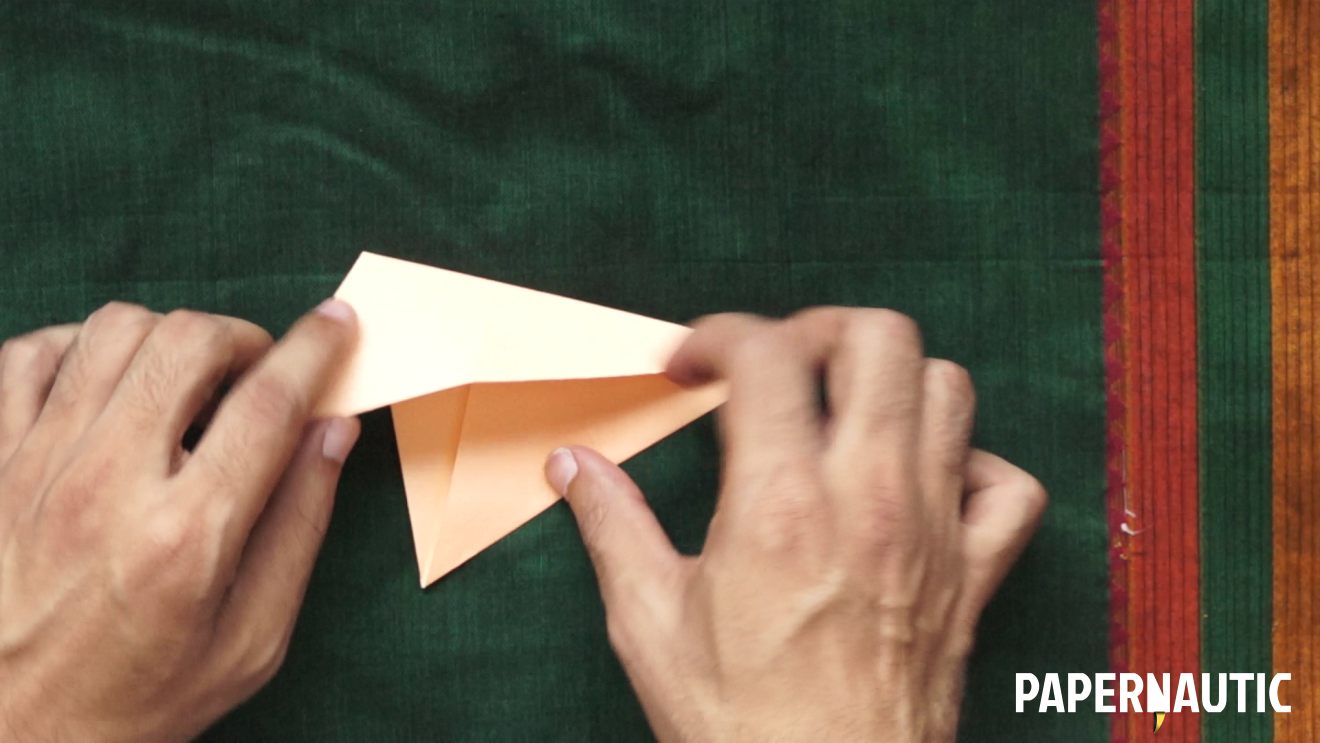
Step 4

Now fold the bottom pointing white triangular shape upwards along its horizontal broad side.
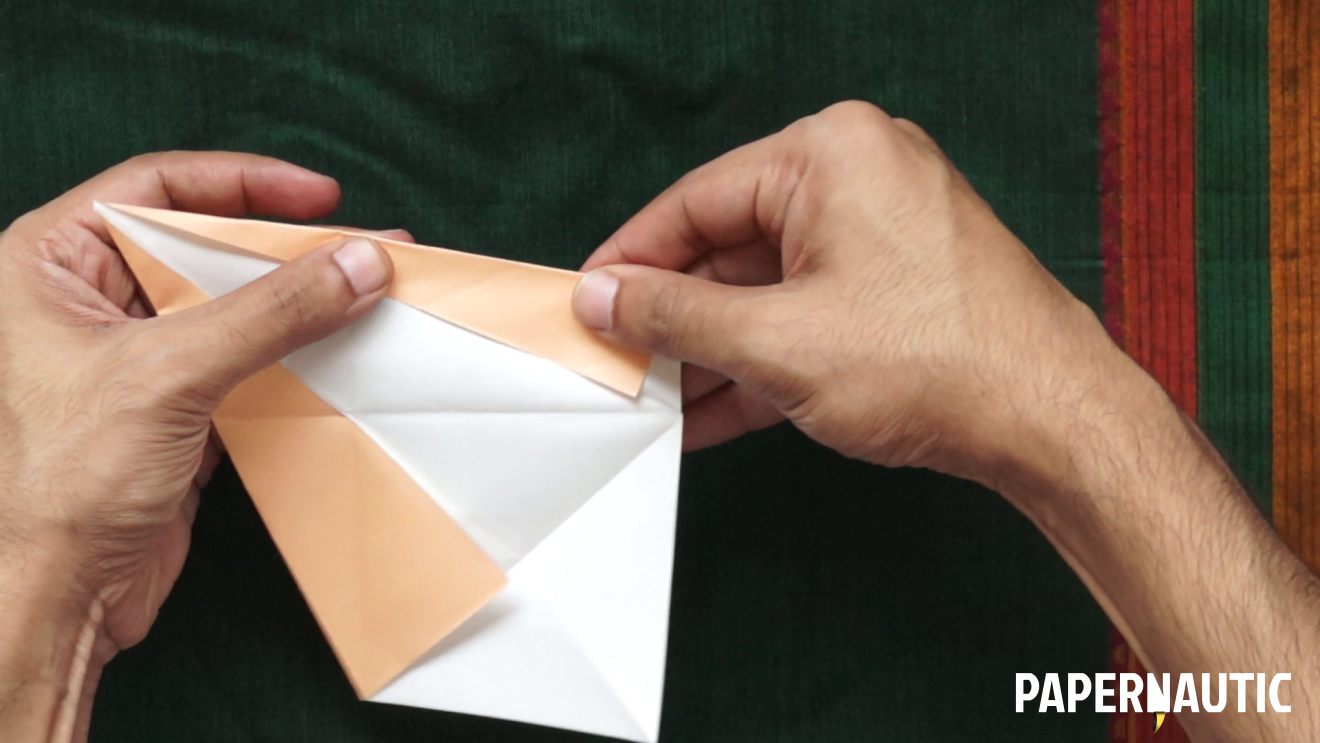
Step 5

Fold the entire thing along one of the top slanting edges of the base triangular shape.
Step 6
Unfold and repeat along the opposite edge.
Step 7

Inside-reverse fold the point of the the triangular shape upwards like this when the model is folded in half. Strengthen the creases of the inside reverse fold without too strongly folding the rest.
Step 8

Unfold the last fold and also the fold of the broad triangle towards the bottom.
Step 9
Unfold one of the triangular flaps, and fold the long edge of it towards the crease which you just unfolded.
Step 10
Unfold the opposite side and repeat the same fold to make it symmetrical.
Step 11

Fold the tip of the bottom triangle upwards towards the central point of its base line.
Step 12

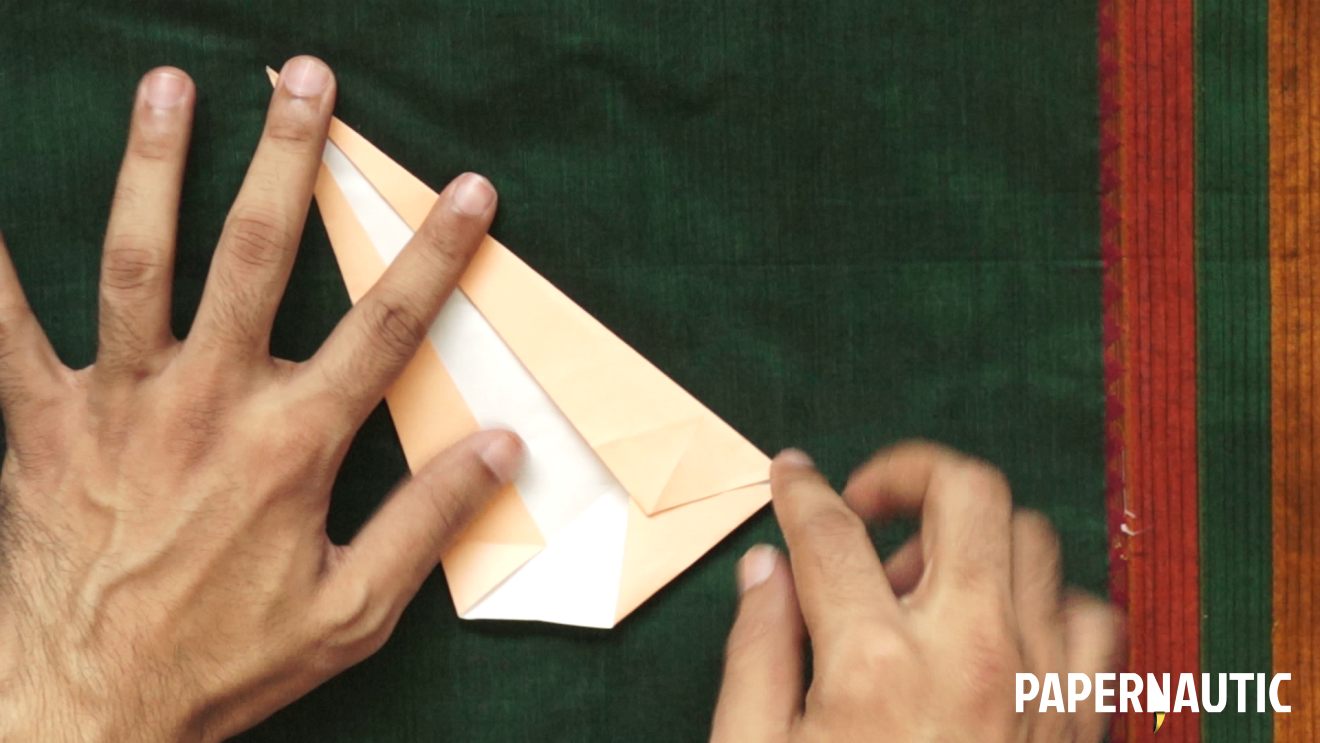
Fold the resulting trapezoid back up along the original triangular base, making sure the side slanting flaps are folded inwards and tucked under it, to form this tight, tall triangle.
Step 13

Fold the points of the bottom two corners up to the upper corners of the trapezoid shape at the base of your triangle.
Step 14
Unfold the two corners and also unfold the trapezoid shape back downwards. Now fold in the side flap towards the central line. Repeat on the other side to make it symmetrical.
Step 15

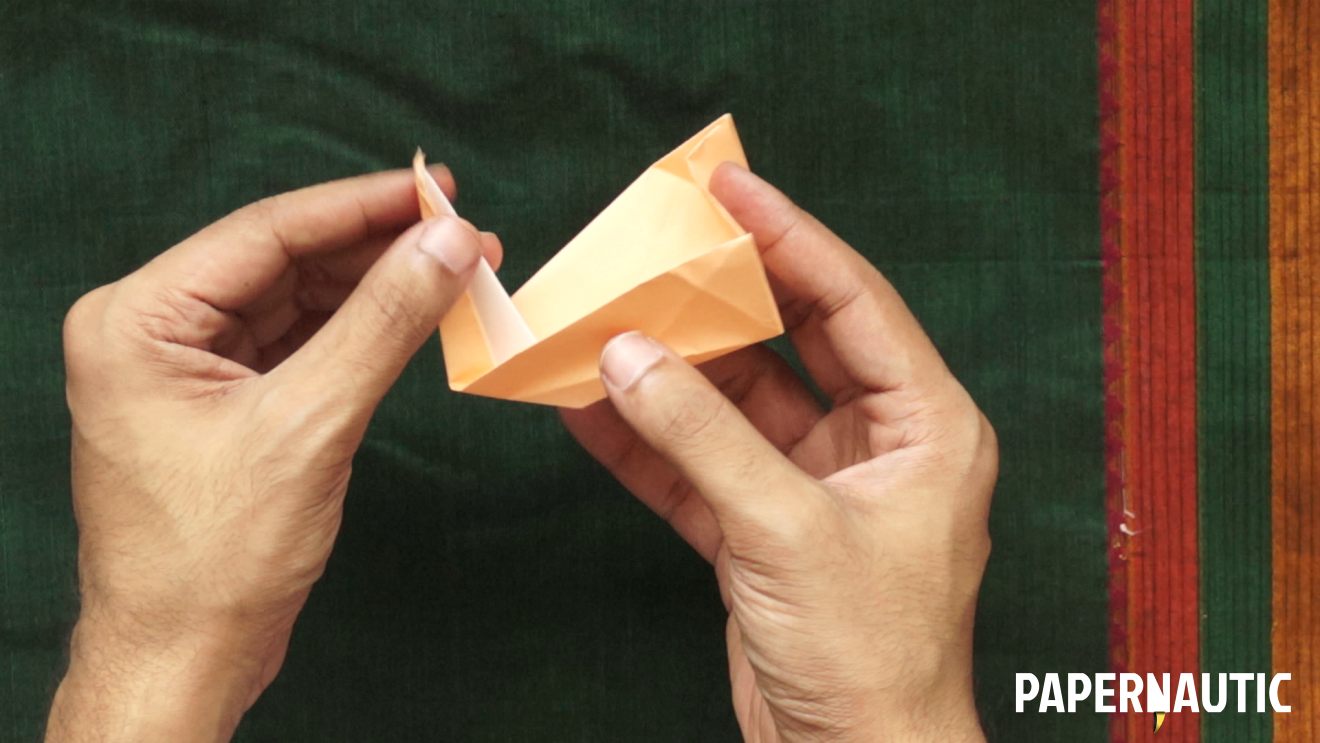
Open up the side flaps, these will forms the side walls of your diya, and the trapezoid shape will form the back wall. Connecting the two is this creased flap/loop of paper in the corner.
Step 16

To strengthen the structure and form the three dimensional shape of the diya, tuck the triangular corner flaps under the side wall flaps and fold them down to form a clean box-like corner. Do this on both sides.

Step 17
Keeping the box structure at the back secure, inside reverse fold the front pointed-end upwards again, using the creases you created in step 7. You can start to see the shape of the flame forming.
Step 18

The bottom of the model should be flat with crisp edges towards the back corners, and then should curve downwards a bit towards the front point. This unevenness adds tension to the base and holds the structure of the diya in place.
Step 19

Now let’s form the flame and finish the model. On the inside of the model, fold the back edge of the flame shape towards the front edge of the diya, like this. It helps the front slanting-edge of the model get tighter and sharper.
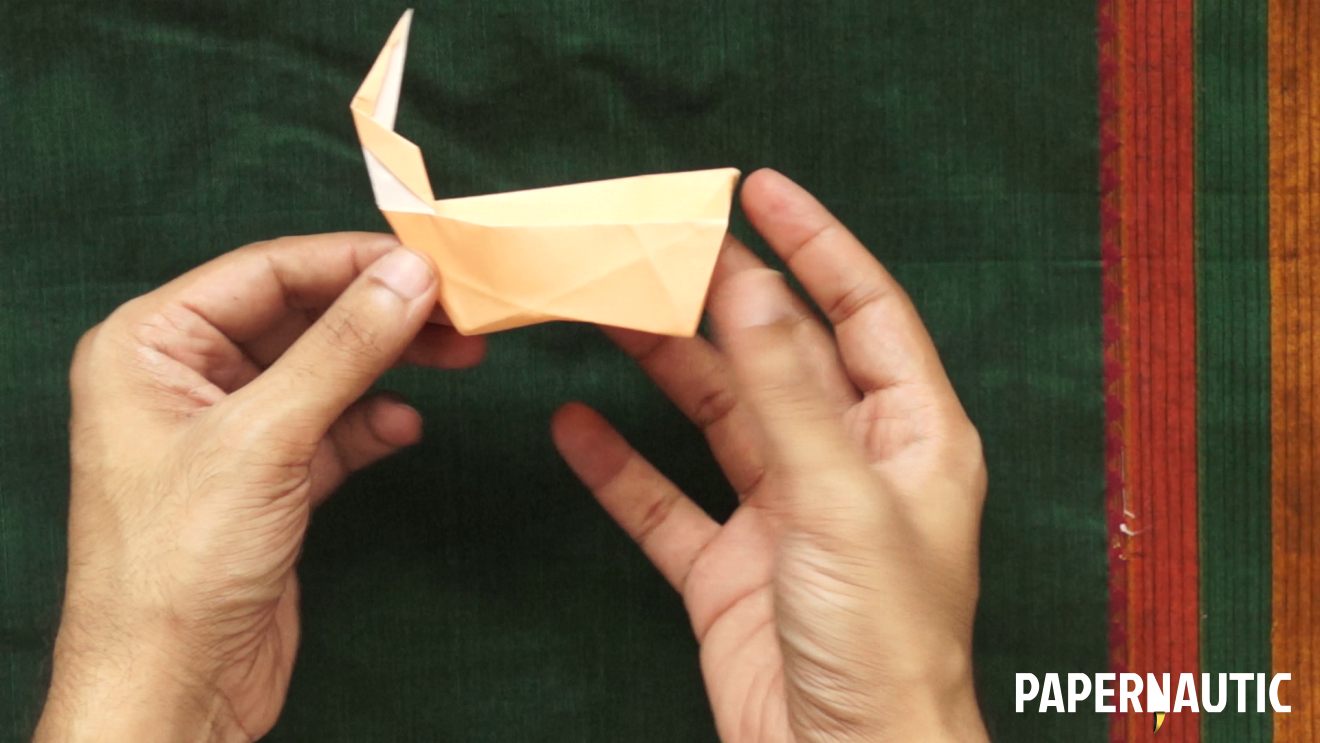
Step 20
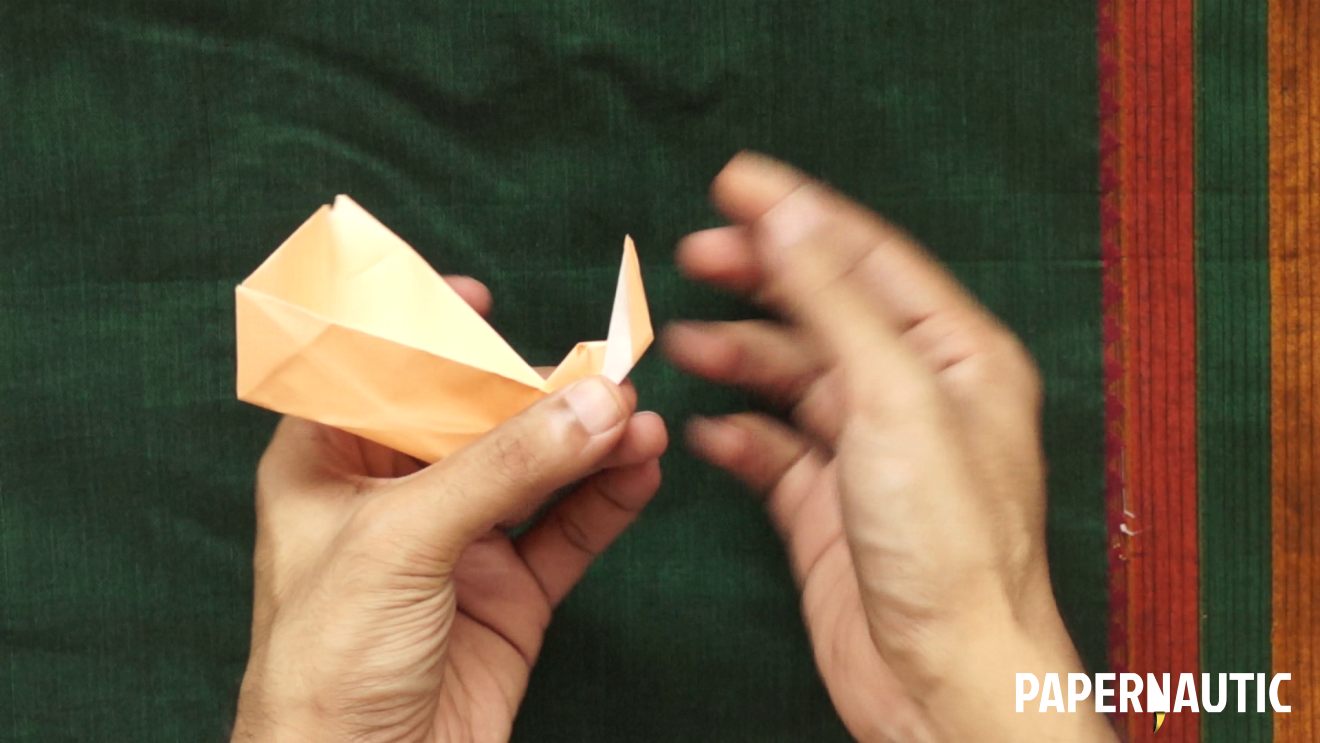 To finish, flip to the other side of the flame and fold the top point towards the back at an angle, like this, to form this twisting, asymmetrical flame shape.
Step 21
Sharpen all the edge folds, tighten the corners, and your origami diya or paper diwali oil lamp is ready to brighten your night.
P.S. Please subscribe to Papernautic on YouTube to keep track of the latest videos and tutorials.