Flowers are some of the most popular origami models. There’s hundreds of types you can make, many of them very intricate and complex. To start though, something simple like this very easy origami tulip is a great choice.
What’s also different about this model is that it is made from two sheets. A good introduction to more modular designs in paper folding.
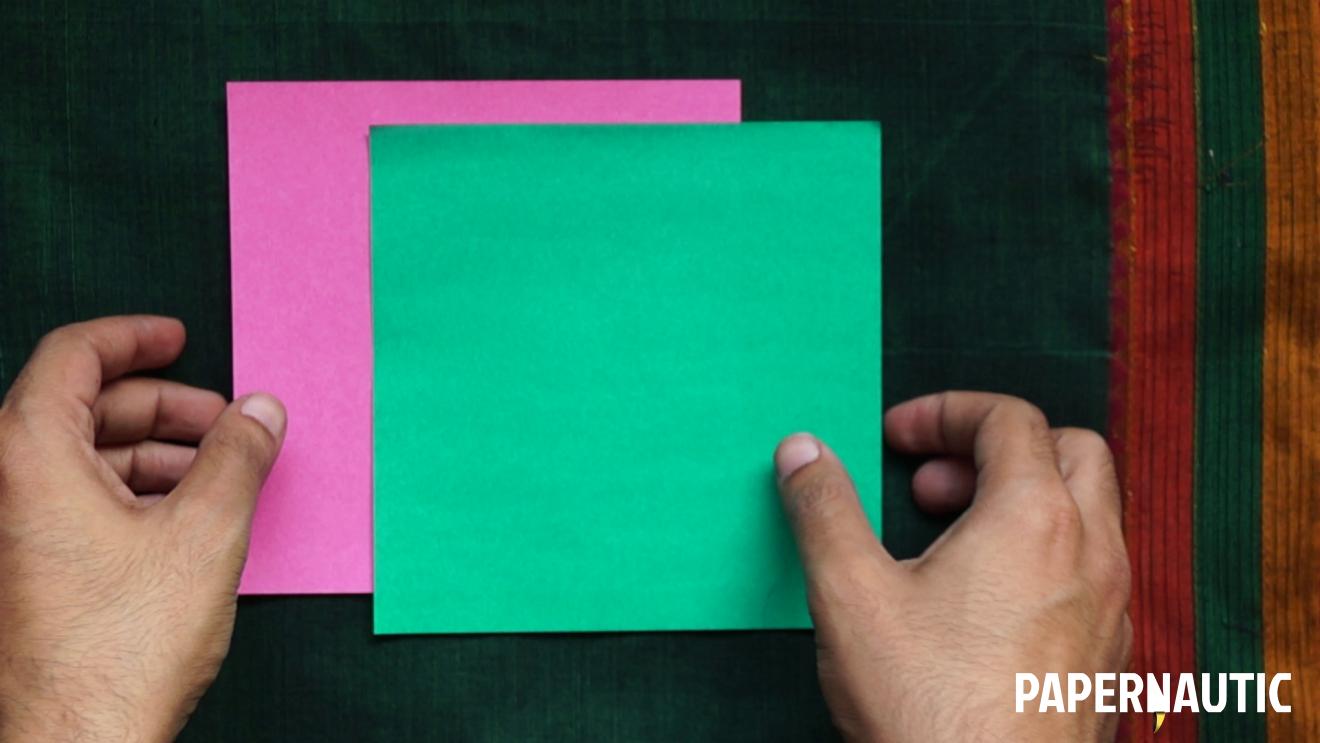
Paper for an Origami Tulip

You need two squares, one for the flower and one for the stalk and leaf. Let’s start with the flower.
Origami Tulip Instructions
Step 1 – The Tulip Flower

Start colour-side down. Fold along both the diagonals of the square.
Step 2

Open it all up and collapse it into this double triangle shape along the creases.
Step 3

Lift one of the side corners and fold it up so it pokes out over the sloping edge of the triangle.
Step 4

Mirror this on the other half. Notice how you keep a small flat bit at the bottom. This is where the stalk will attach to the flower.
Step 5

Flip it over and create the same petal shapes on the other side.
Step 6

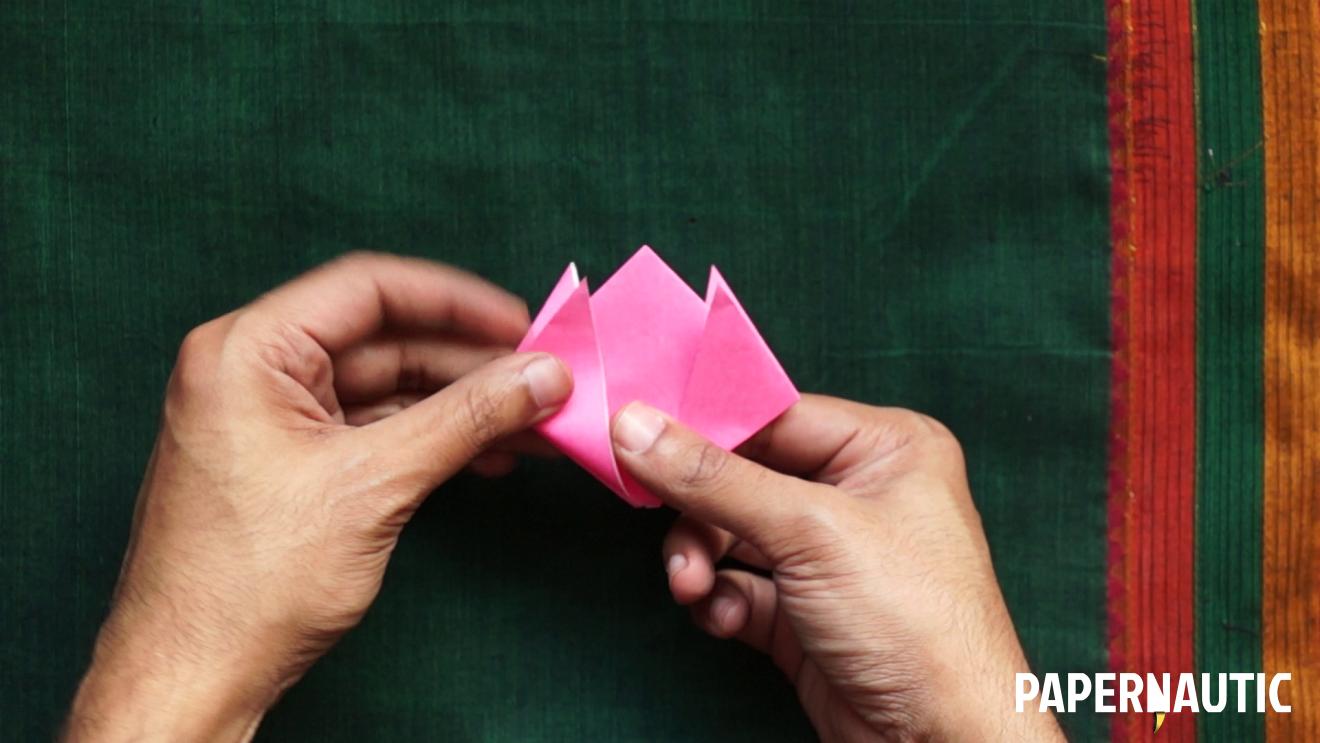
On the inside of the petal flaps, fold the side corner inwards to make the flower narrower, like a real tulip.
Step 7

Repeat this for the remaining three petals.
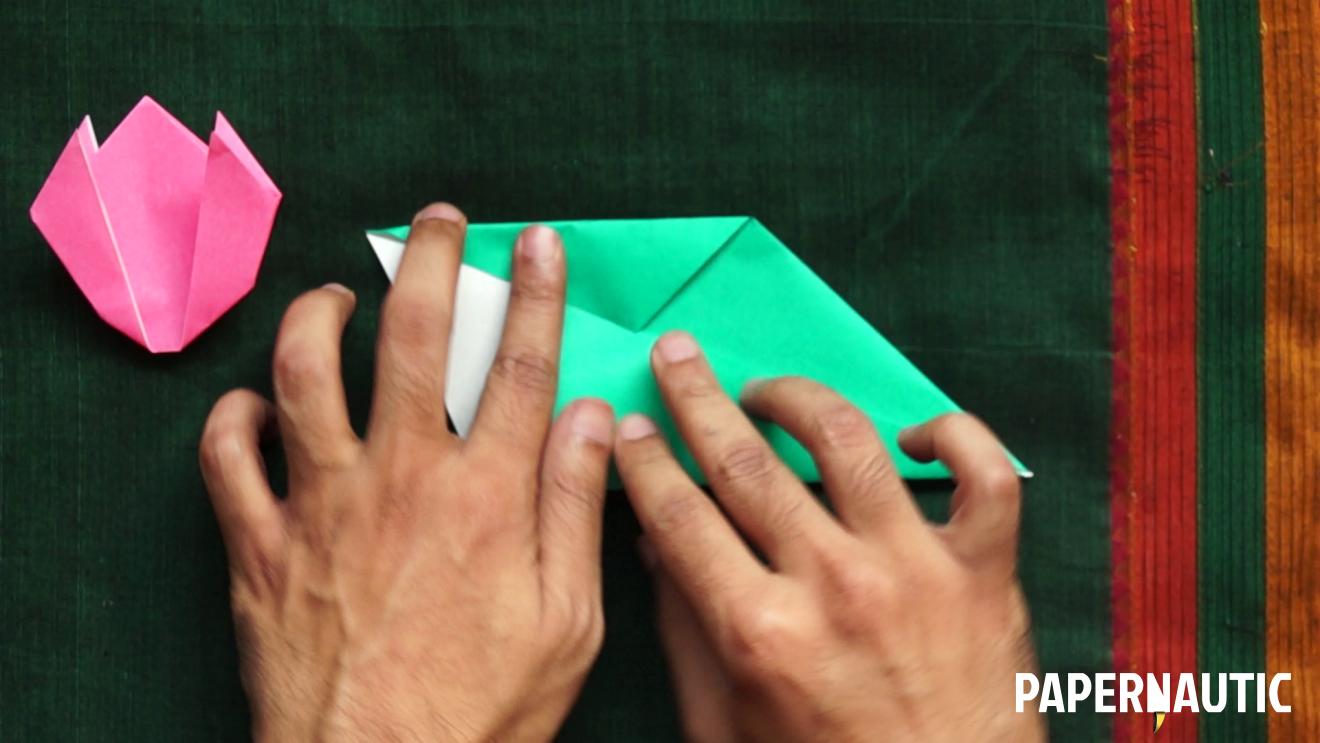
The flower part of this is done. Keep it aside and let’s start on the stalk.
Step 8 – The Tulip Stalk

Keep the second square colour-side down and fold in half along a diagonal. Unfold it.
Step 9

Fold one of the edges of the square towards the central diagonal fold. Repeat on the other half.
Step 10

Fold the two remaining white edges towards the centre too.
Step 11

Fold two of the edges towards the centre again, to make the whole thing more narrow and leaf-like.
Step 12

Now fold it in half along the diagonal.
Step 13

Open that flat and fold it in half so that the two pointed ends come closer to each other.
Step 14

Now keeping the whole thing folded along the main diagonal fold, pull the two sharp points apart.
Step 15

Fold the base so that the two remain apart.
Step 16

The broader part will be our leaf, so inside reverse fold the pointed end to form a curl in the leaf.
Step 17 – Assembling the Parts

The tall thin shape is your stalk and will hold the tulip you made earlier.
Insert the spike of the stalk into the hole left between the layers of the tulip model at the bottom.
Step 18

Push it all the way in for a tight fit and your origami tulip is done.
P.S. Please subscribe to Papernautic on YouTube to keep track of the latest videos and tutorials.