Making paper boats is a lot of fun. No rainy day should be without one. Which only means that double boats, with two hulls, are double the fun. Here’s how to make an easy version.
Origami Double Boat Instructions
Step 1

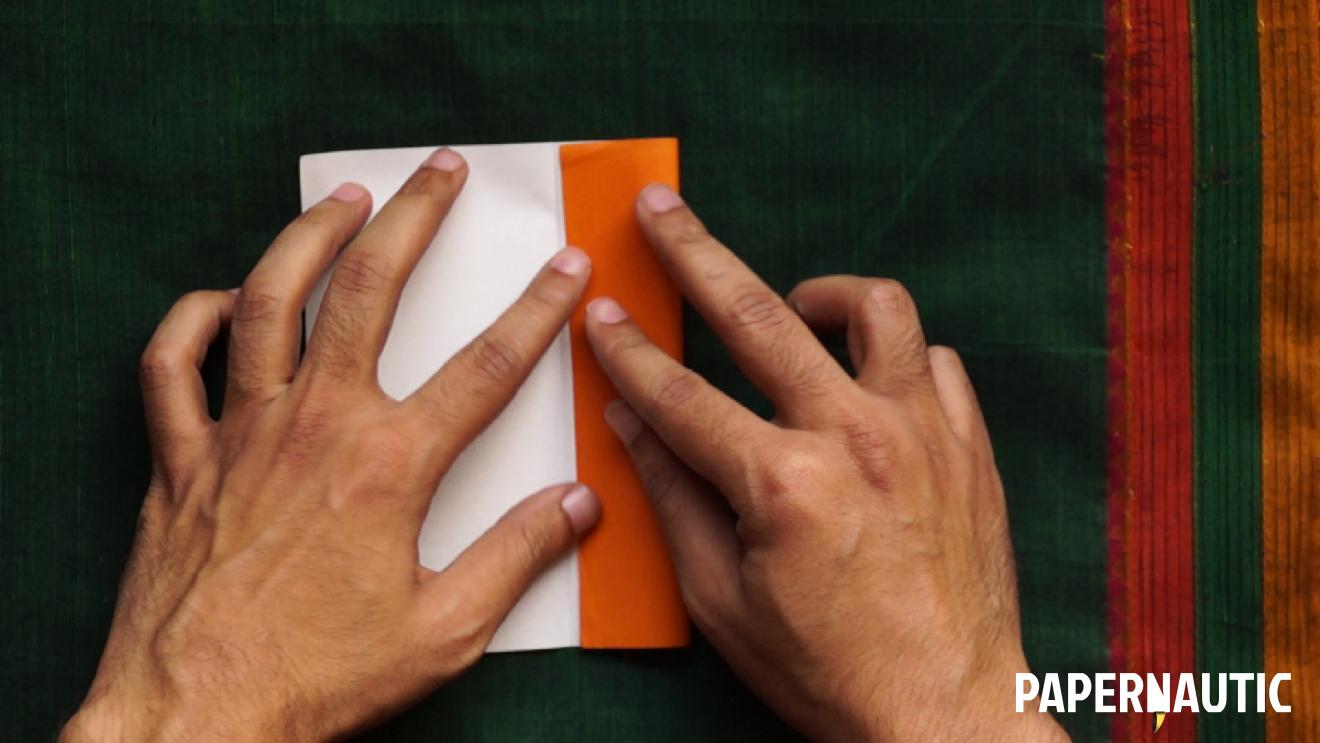
Start with a square paper, colour side down, and fold it in half along a vertical crease.
Step 2

Unfold it and fold one of the side edges to the central crease and repeat on the opposite side.
Step 3

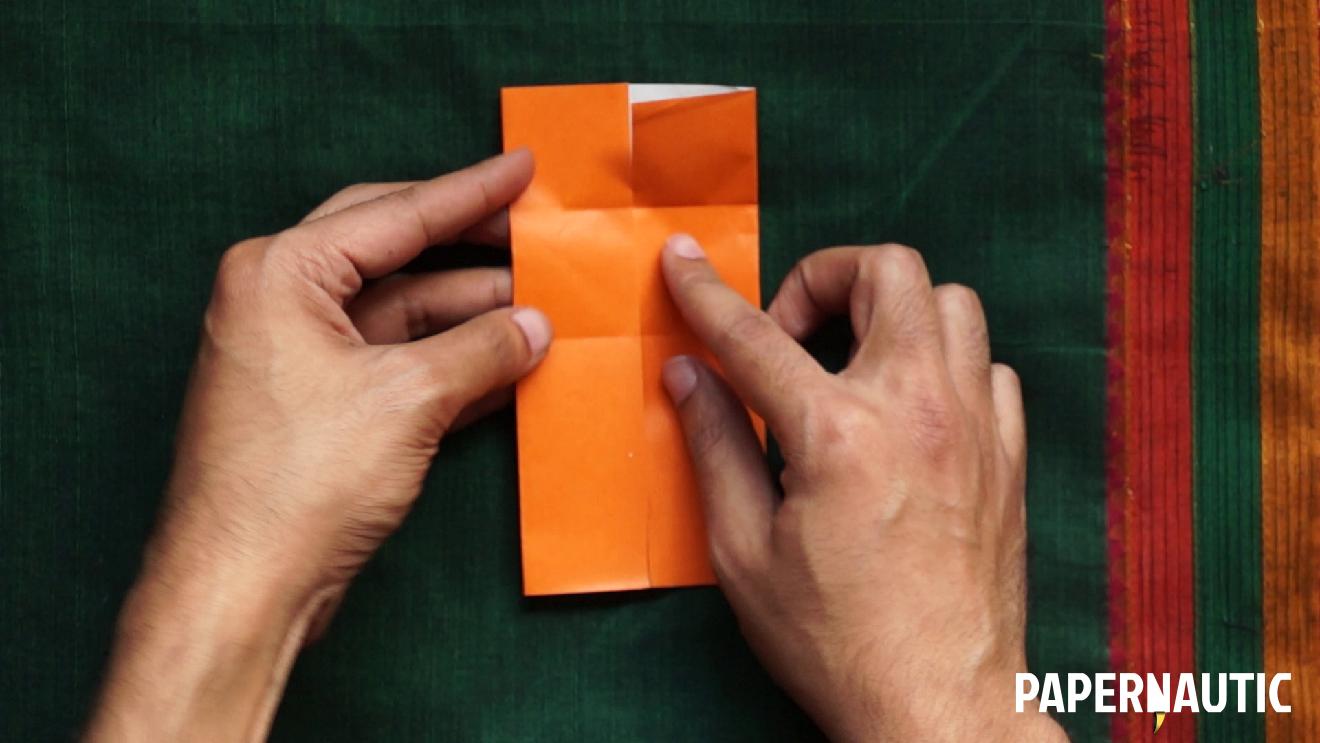
Now fold the entire thing down in half to form a horizontal crease, and then unfold it.
Step 4

Lift the top edge and fold it towards the central line to form another horizontal crease.
Step 5

Unfold it and you’ll see it’s formed four little square areas on the top half.
Step 6

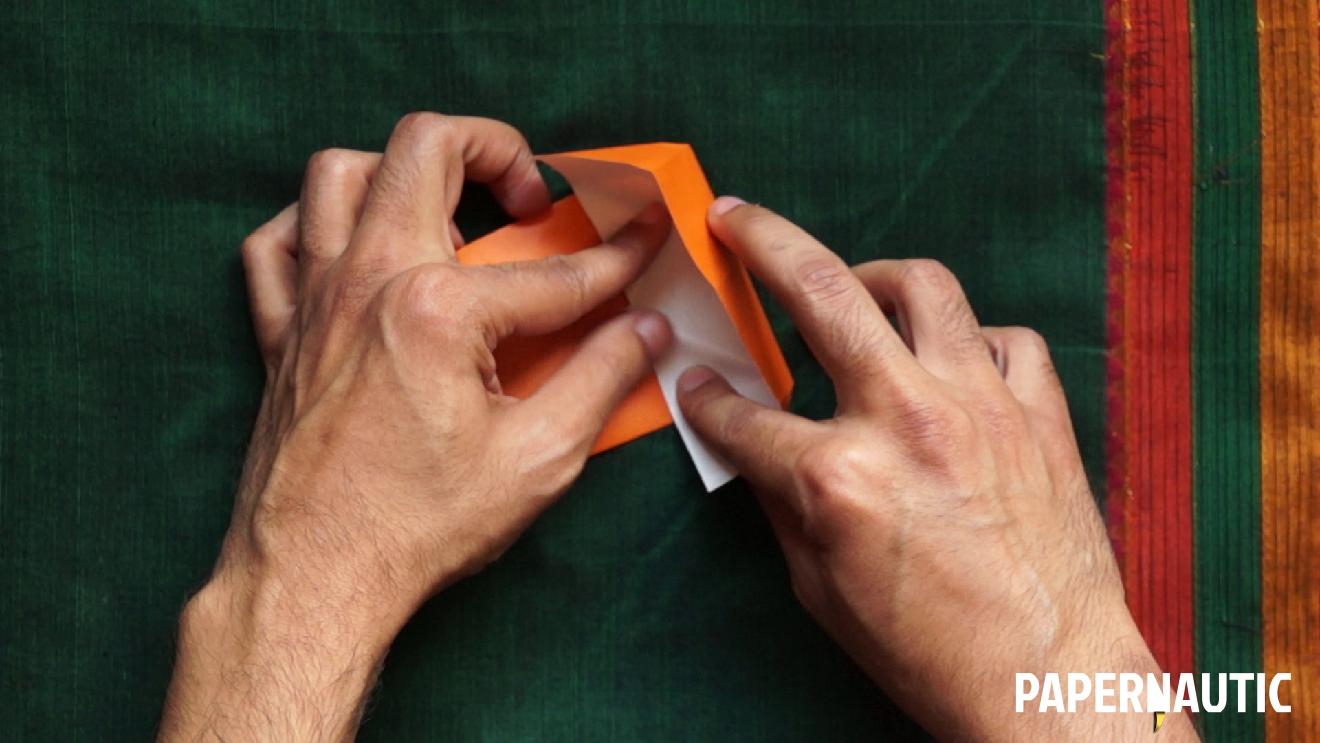
In one of the squares towards the centre, fold along its diagonal, like this.
Step 7


Do the same on the other square shape towards the centre and the whole thing should fold down into the upside down boat shape.
Step 8

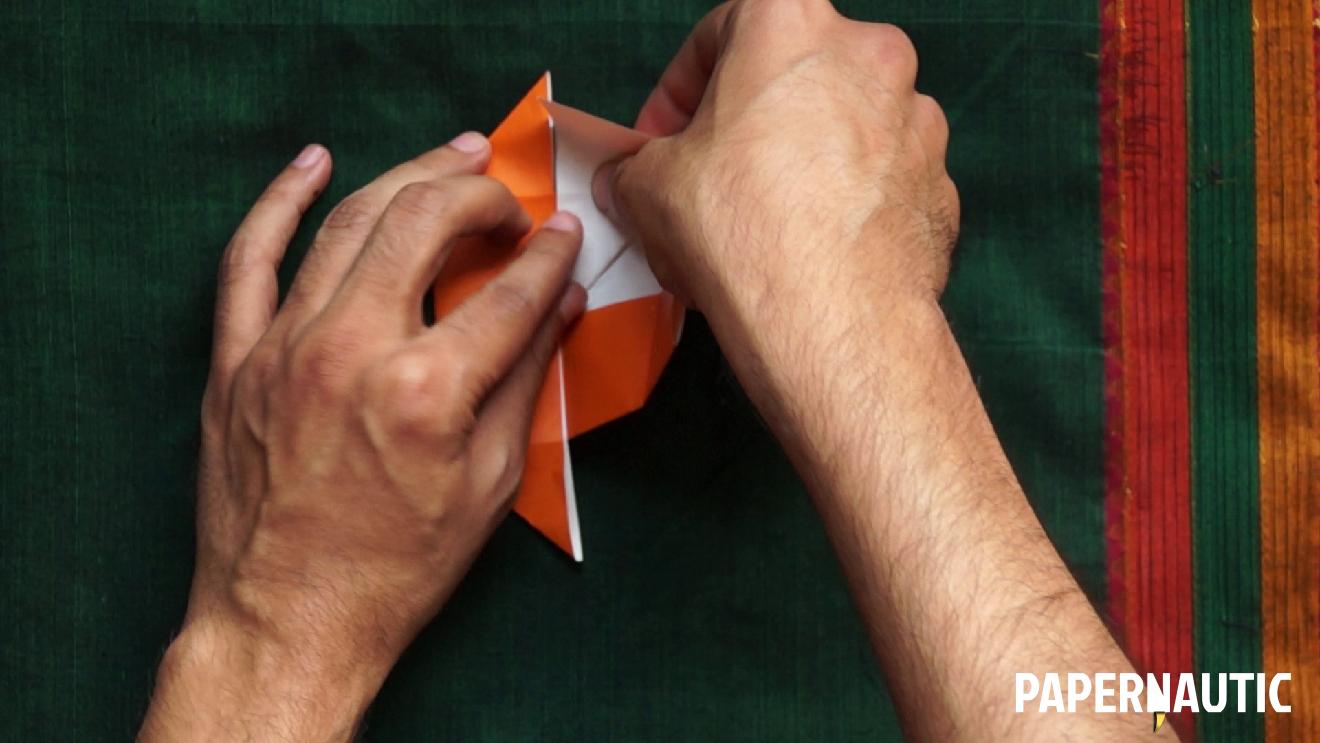
Now you need to repeat all that on the lower half. Fold in half to form the four small square areas.
Step 9

Then fold along the diagonals of the inner square areas to form the boat shape.
Step 10

You now have a flat double boat nearly ready.
Bonus Aside – Paper Pin Wheel

As an aside, if you fold to top left corner up like this, and the bottom right corner down, you form the classic paper pin-wheel shape. Just to show you how its easy to do other models as you learn the basic shapes.
Step 11

But for now, let’s get back to the double boat. Flip the model over and fold in half along the centre line so you now have the two boat shapes stacked.
Step 12

Open them up at the top, clean up the folds a bit, and you have a nice free standing double-hulled paper boat to play with.
P.S. Please subscribe to Papernautic on YouTube to keep track of the latest videos and tutorials.