Origami cranes are the most recognisable of the traditional Japanese folded paper models. The origami crane has become an icon for the art of paper folding itself and all the cultural artifacts that surround it. This paper bird is also a great model to learn because it can lead you to so many other beautiful models through The Bird Base, an intermediate step that is the start of several great designs. Enjoy this classic and historical piece of origami.
Paper Crane Instructions
Step 1

The square paper you start with must be placed colour side down. Fold it in half along a horizontal line.
Step 2
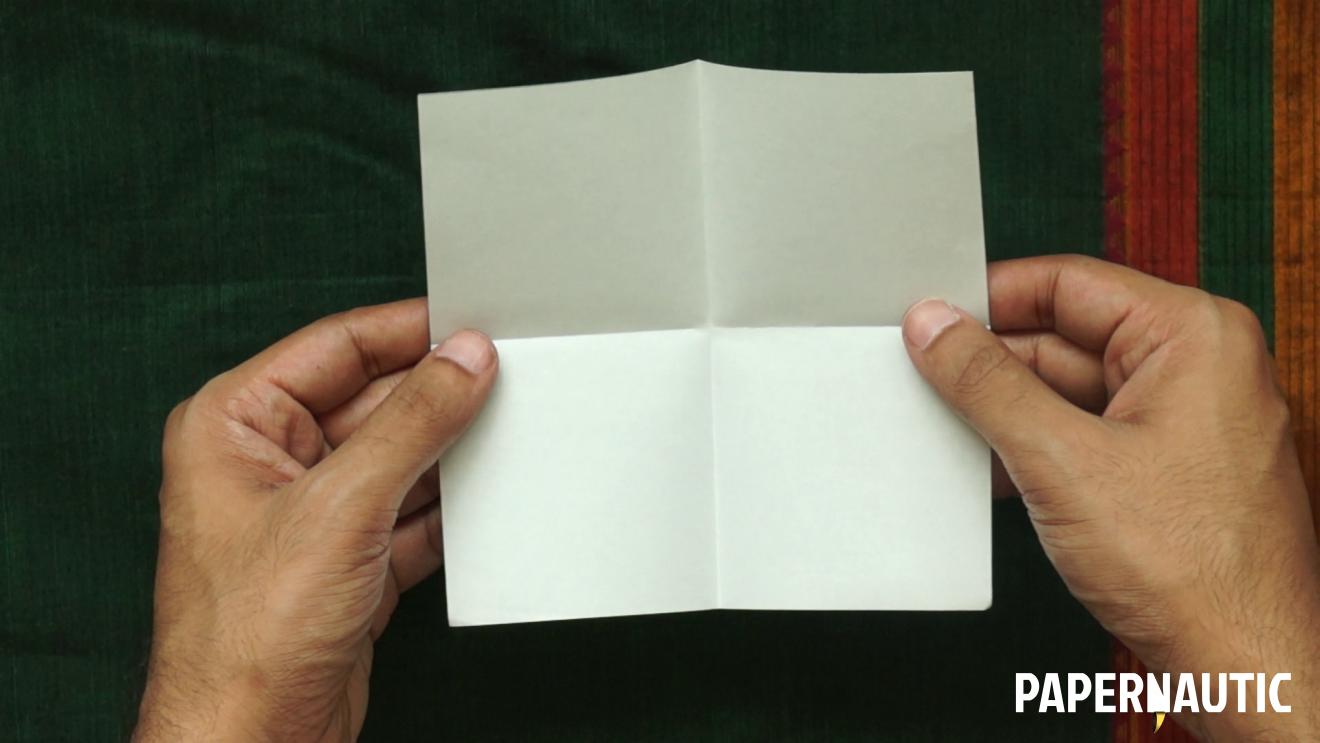
Then unfold it and fold along and a vertical across the square, to from this cross-shaped crease.
Step 3

Unfold it again and place the paper colour-side up this time. Fold it along both the diagonals of the square.
Step 4

Unfold it flat and with the colour side up, collapse all the creases into this multi-layered diamond-shaped form.
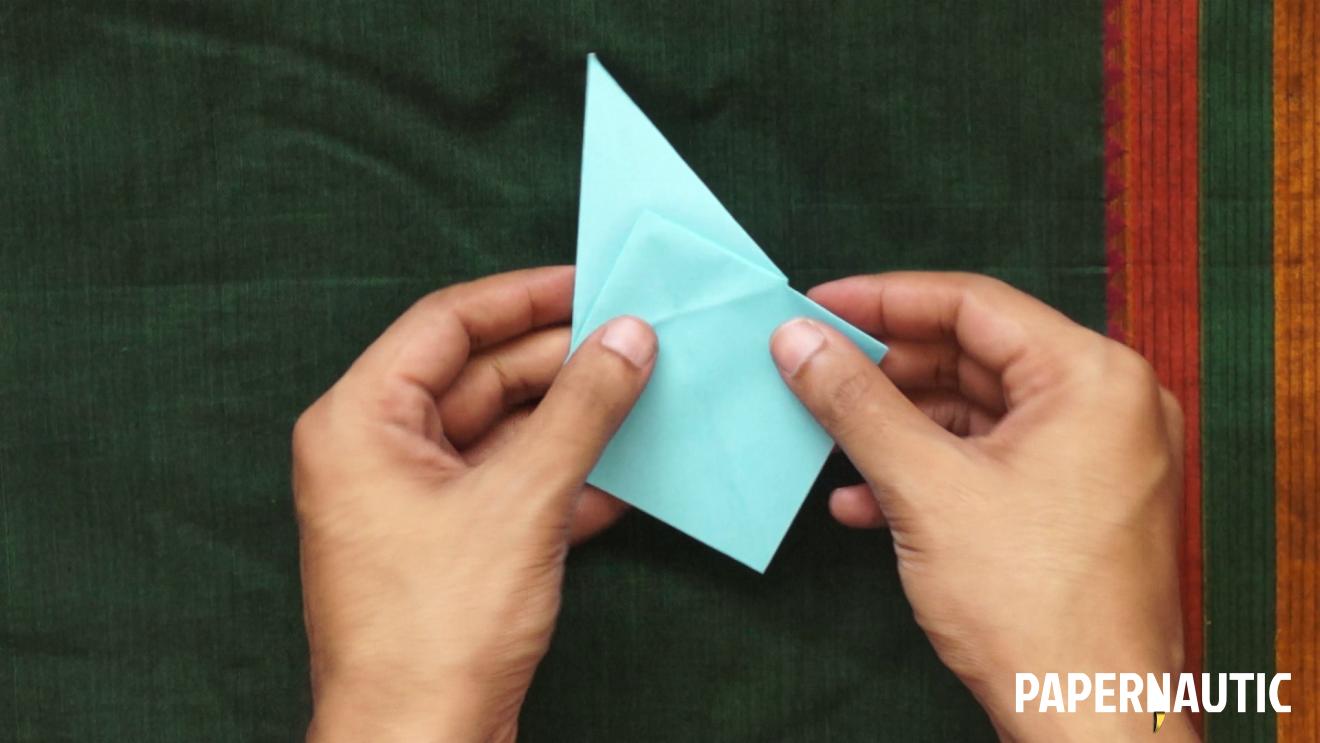
Step 5
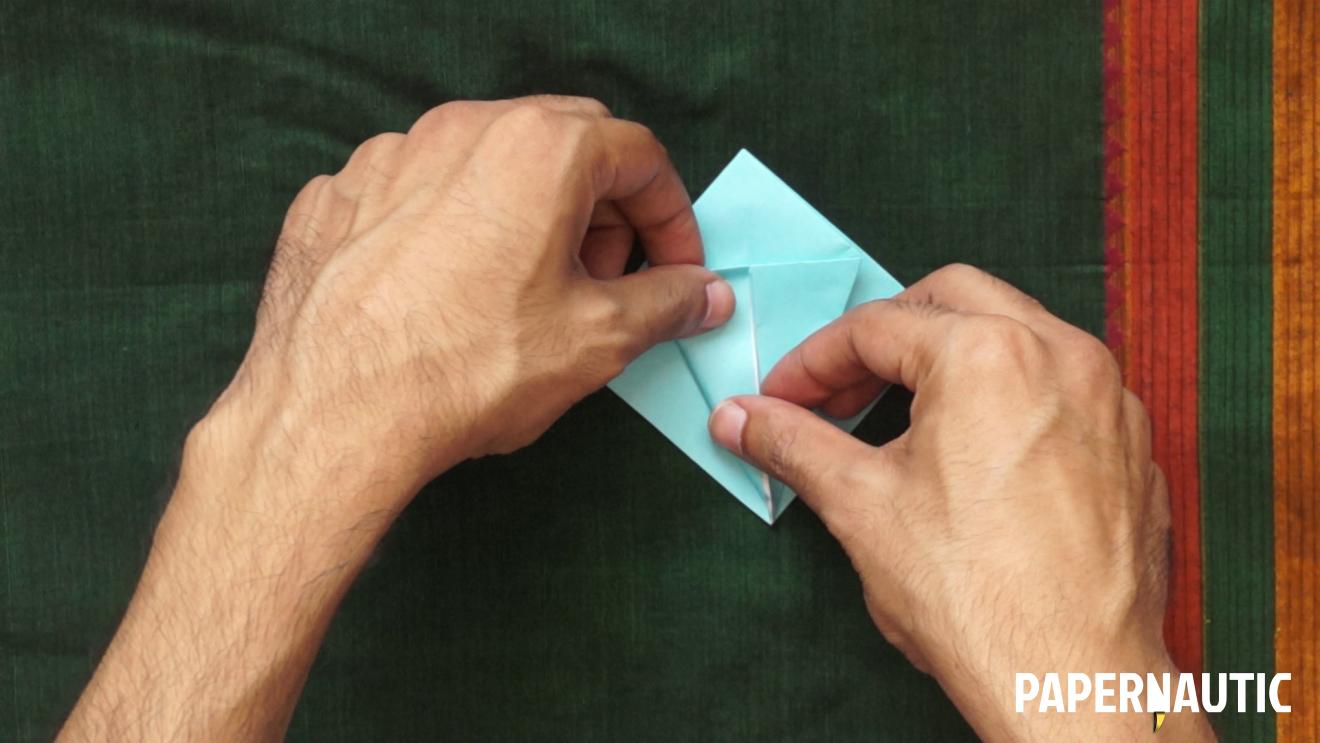
With the loose layers of the model pointing downwards, place it flat like this and fold a single layer of both of the bottom edges to the central line to form this large pointed shape.
Step 6
Fold down the small broad triangle at the top along its base line.
Step 7

Unfold all three folds.
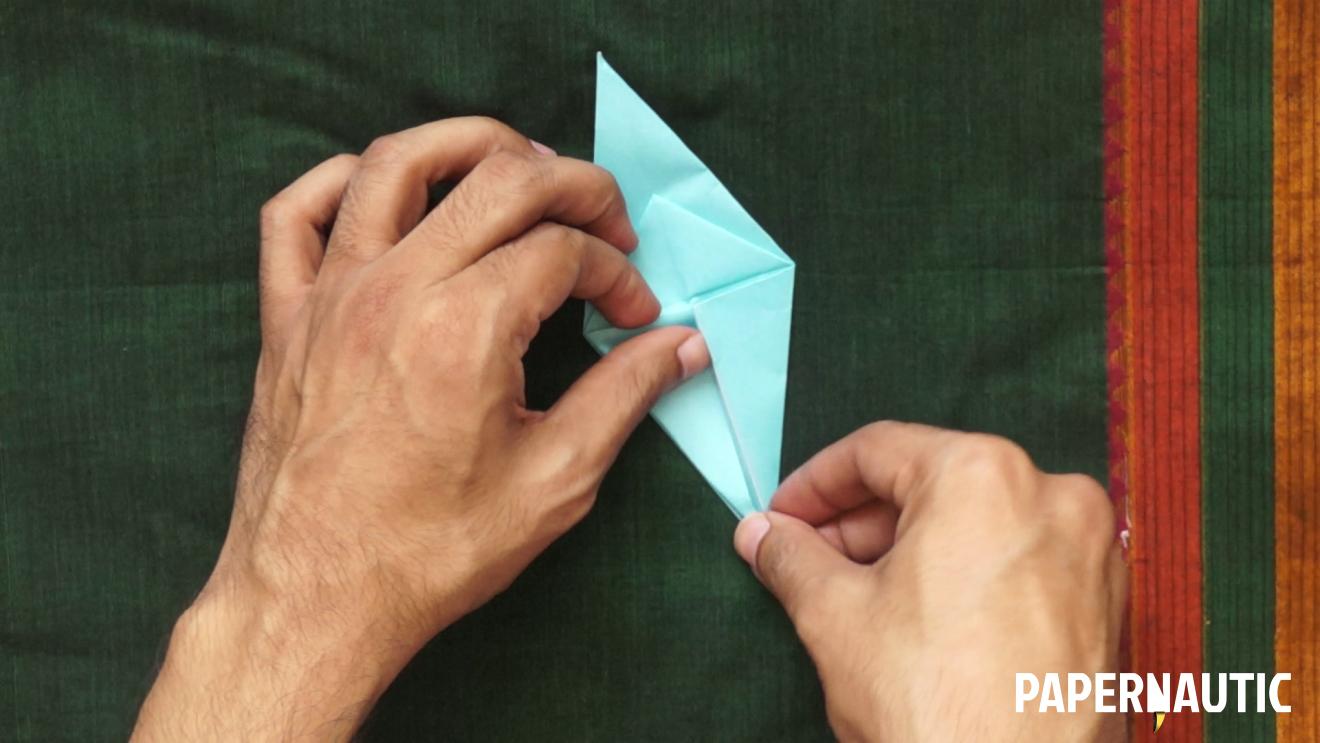
Step 8
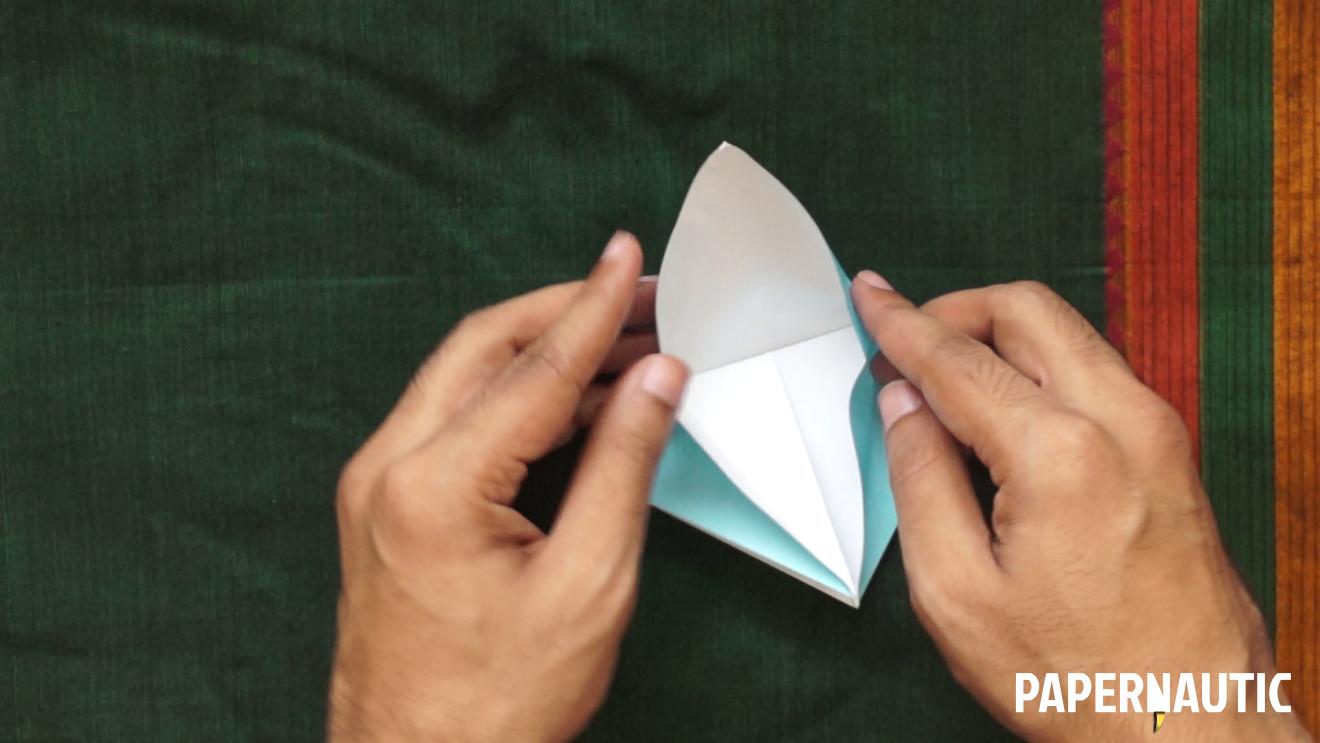
Now comes the slightly tricky step. Fold only the single topmost layer of paper up along the horizontal crease you created before. This spreads the paper open.
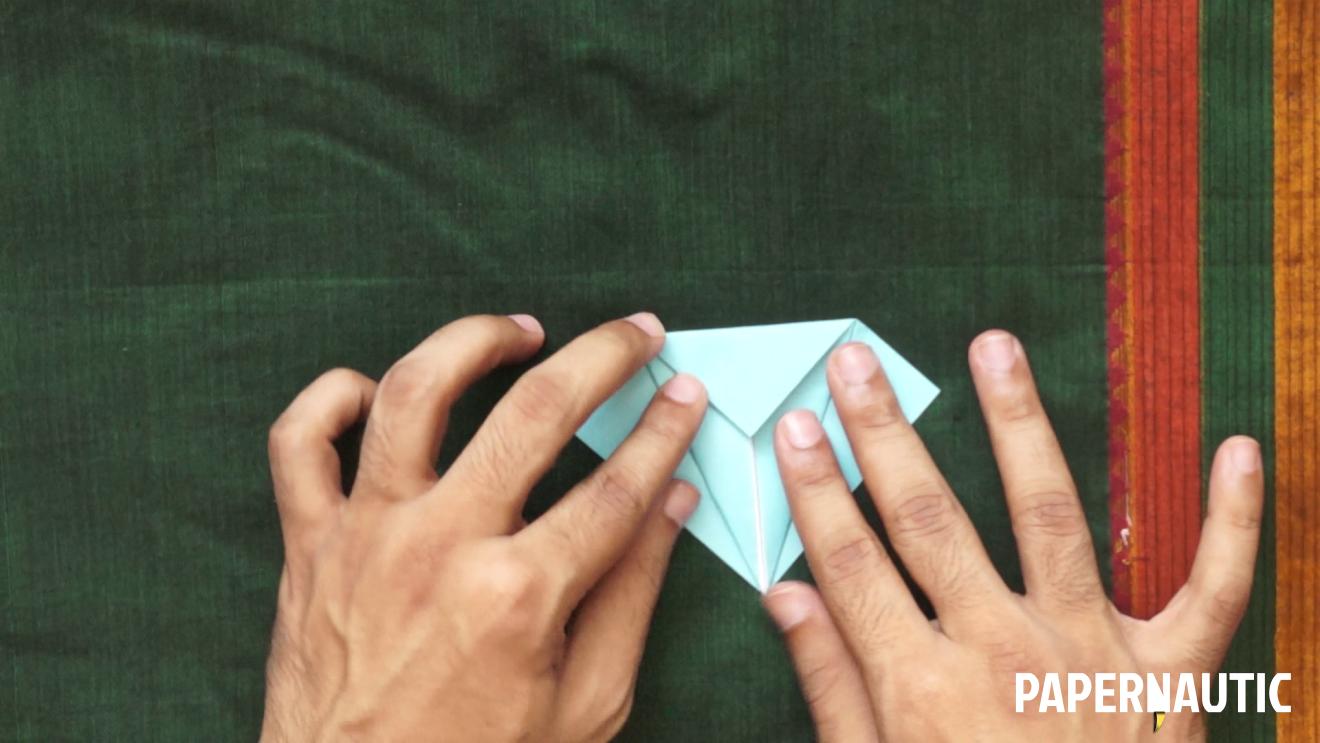
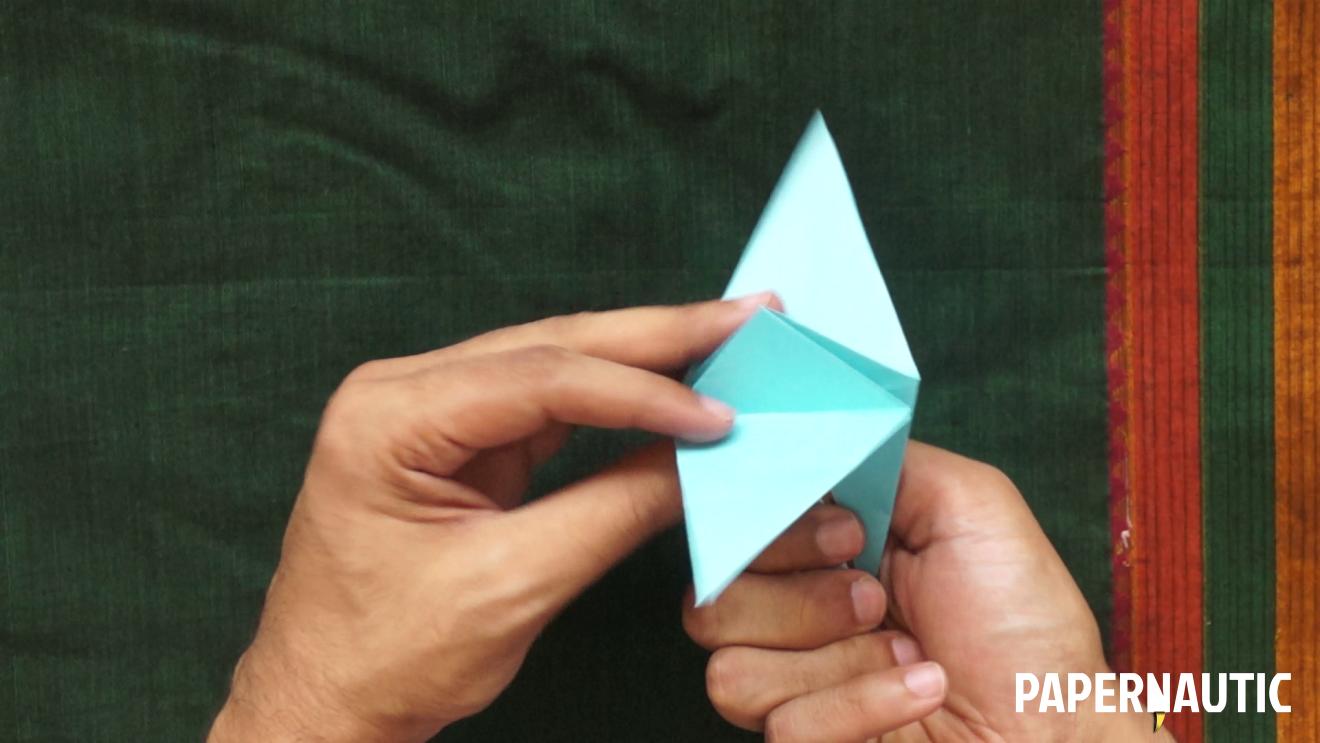
Step 9

Now use the longer creases on the sides to fold the side flaps flat, forming this very tall diamond shape. This looks more complicated than it is, so slow down and try it out till you get a clean result.
Step 10
You need to repeat this whole process on the other side, so flip the model over.
Step 11

Let’s go through this again so you get the hang of it. Since the horizontal crease towards the top was already created and is visible on this side, let’s change things around by folding that top triangle down first.
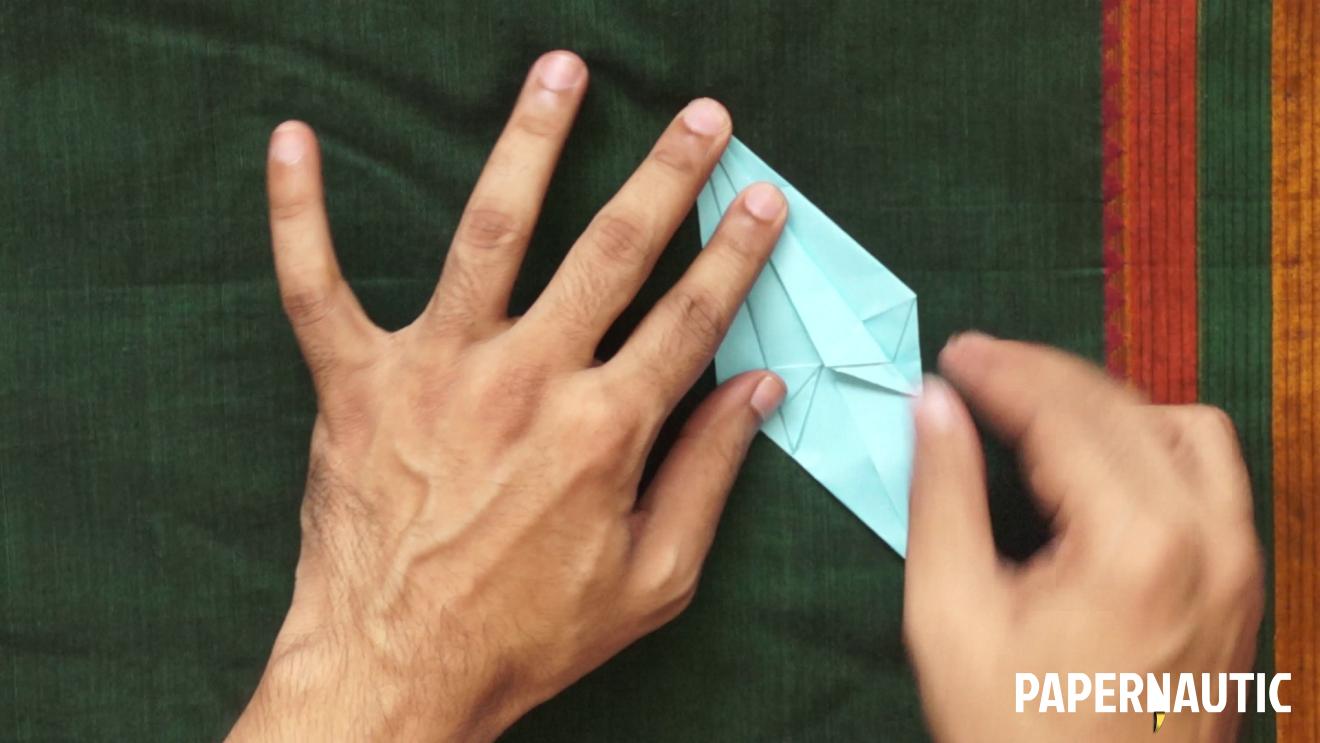
Step 12
Unfold the triangle, and now fold the lower two edges to the central vertical line as on the other side.
Step 13

Unfold the two side folds and then fold the topmost layer of paper up along the horizontal crease towards the top.
Step 14

The model opens up and the side flaps must now be folded flat to form this tall diamond shape.
Step 15
If you open up the top two pointed flaps, you’re looking at the brid base form. This is where many classic and modern origami models can start, so it’s a useful thing to learn.
Step 16

For now, let’s continue with our traditional crane. Keep the two upward pointing wing shapes flat again. Fold one of the bottom slanting edges of the diamond towards the central line.
Step 17
Fold the opposite edge towards the centre as well to make it symmetrical.
Step 18
Now flip the model over and repeat the same folds with these two bottom edges.
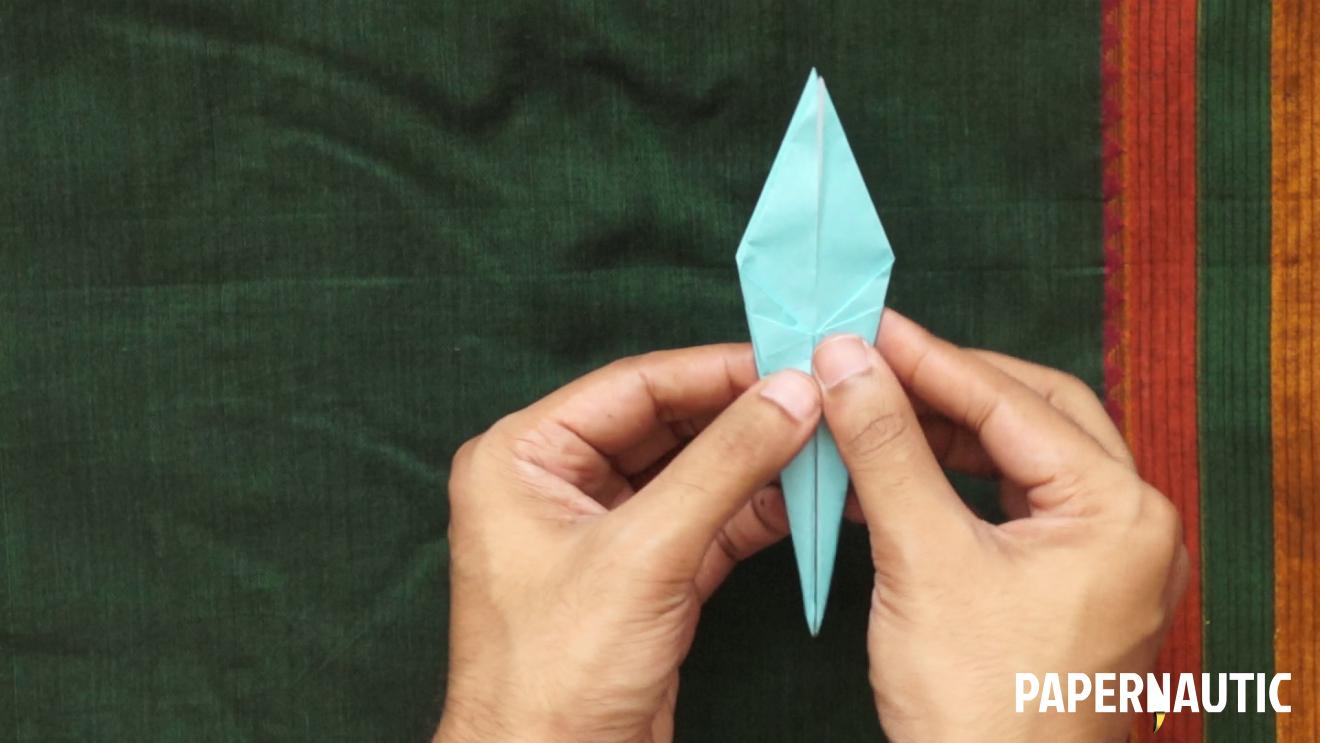
Step 19

If you move the flaps around you should see a triangle hidden between the folds. But keep things as they were and now pull up one of the long pointed bits at the bottom towards the inside, to inside reverse-fold it upwards. Let it go as far up as it can and be at an angle, like so.
Step 20
Do the same with the second long pointed shape. Another inside-reverse fold and you can see the bird is nearly formed here.
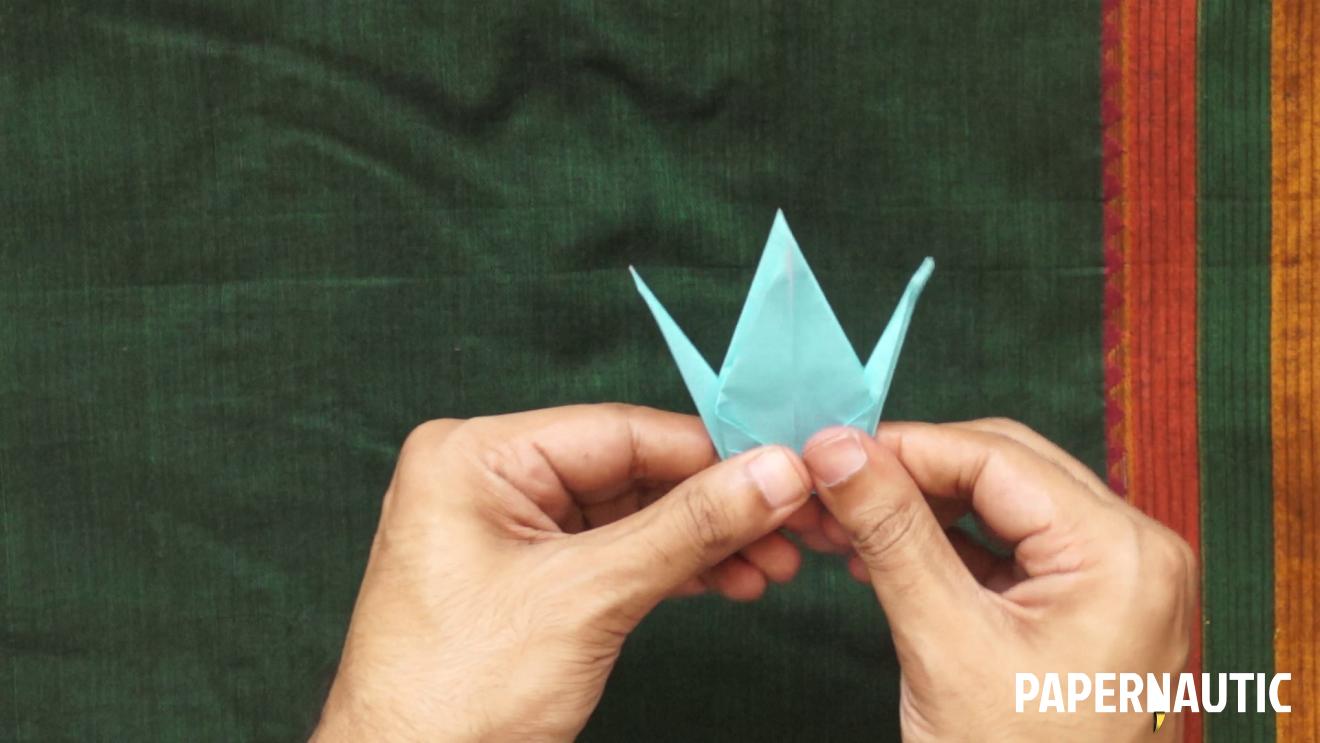
Step 21
Fold down the central pieces on both sides to form the wings.
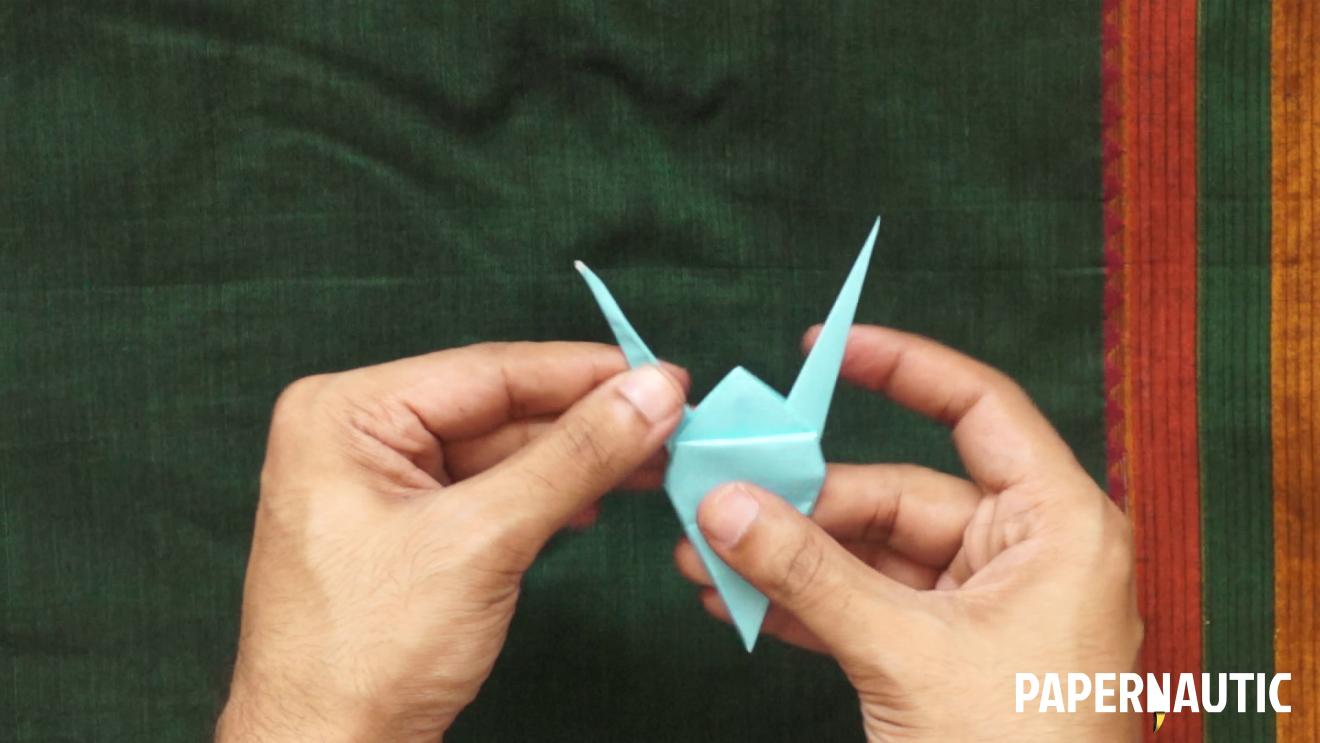
Step 22

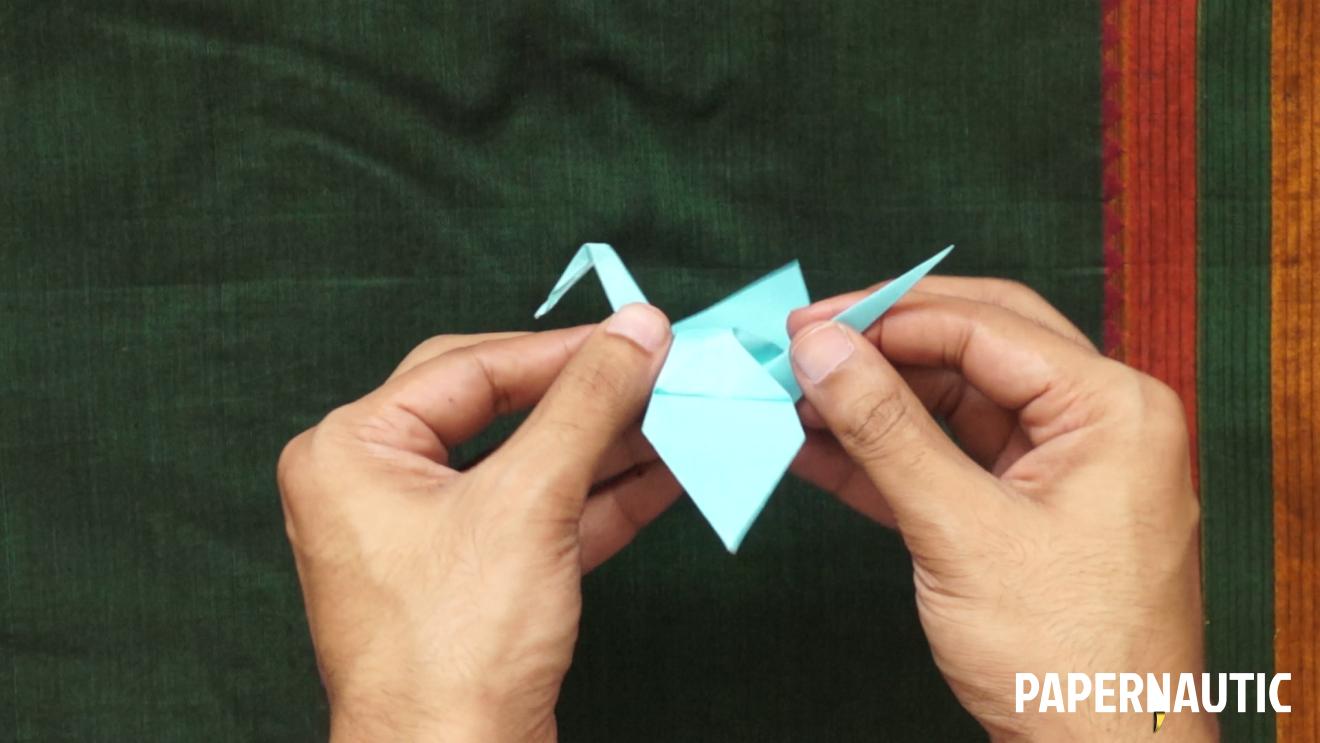
Choose one of the narrow stems to be the neck of the bird and create the bird’s head by inside reverse-folding the tip downward at an angle, like this.
Step 23
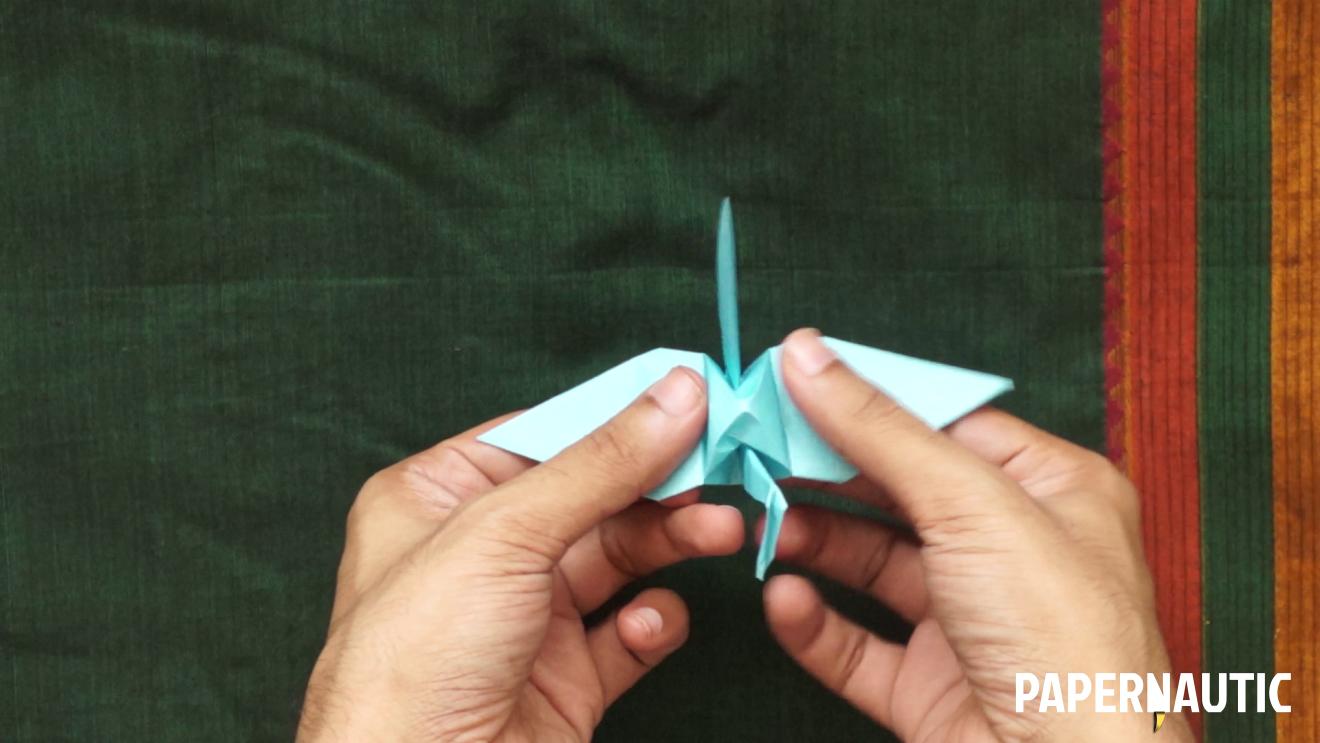
Hold the wings in both hands and gently pull them apart as you help the body of the bird become hollow and form a rough pyramid on top. You can also blow through a tiny hole at the bottom of the bird to inflate the body in a more dramatic way, whichever you prefer.
Step 24
Adjust all the folds and angles and your traditional origami crane is ready to bring you some luck.
Enjoy!
P.S. Please subscribe to Papernautic on YouTube to keep track of the latest videos and tutorials.