When I as a kid, I used to make paper boats during the rains and float them in a large puddle that collected outside my grandmother’s place. The basic origami boat is another model that many children come across and we forget as adults. Let’s float back down memory lane and re-learn how to make a paper boat.
Best Paper for the Paper Boat
The basic paper boat requires a rectangular sheet of paper, so if you’re using square origami paper, cut off a strip to make it rectangular.
Like most basic models, this is very forgiving and you can get away with using almost any sort of paper. If you plan on actually floating it in water, however, paper that’s too thin will not last very long, so keep that in mind.
Paper Boat Instructions
Step 1
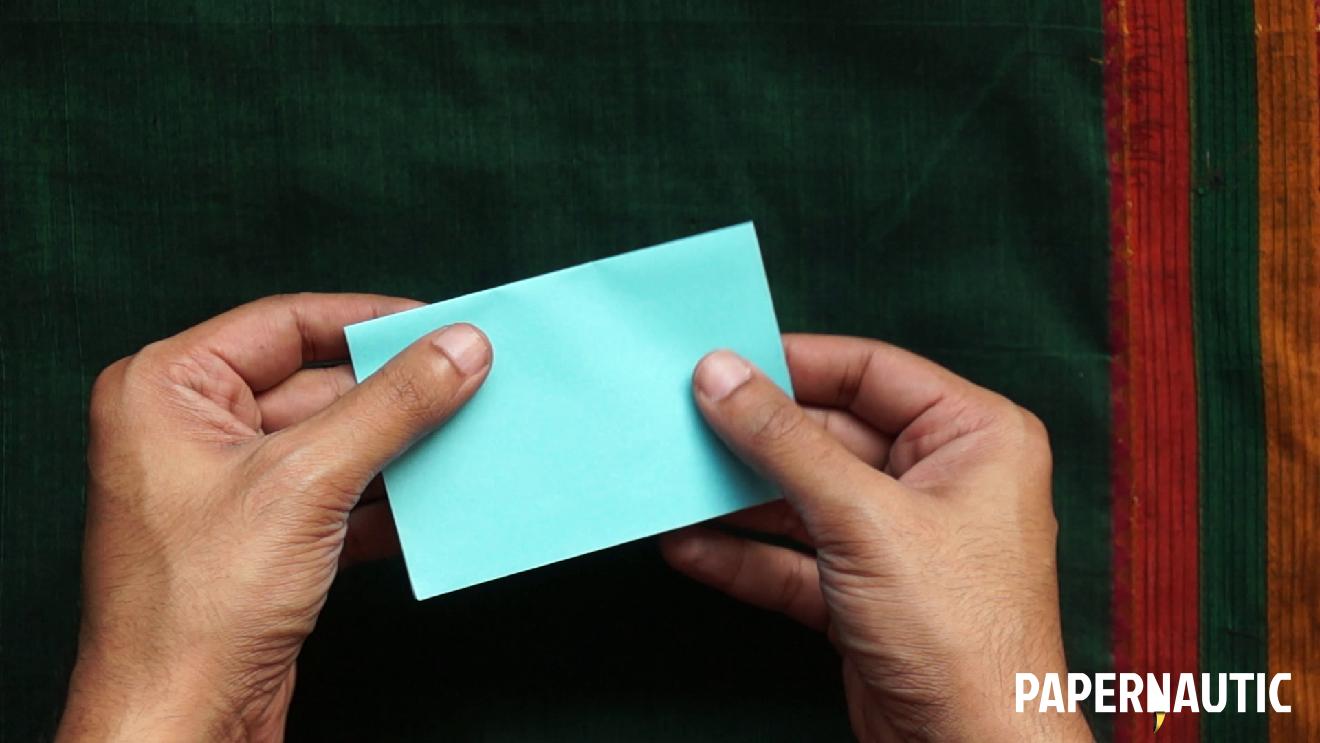
To begin, keep the rectangle in portrait format in front of you, i.e. laid tall rather than wide. Fold the paper down in half, making it half as tall.
Step 2
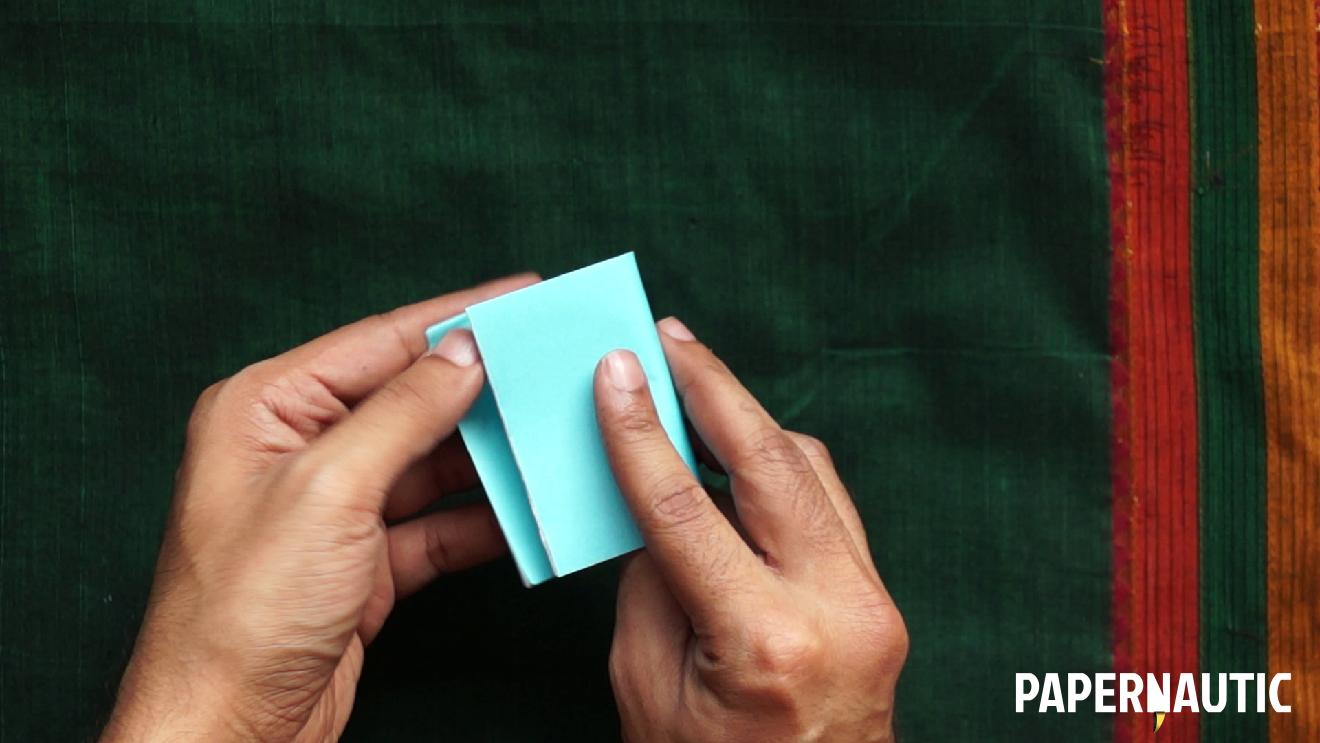
Next you should fold it in half again along the width of the sheet. That’s 4 layers of paper, so be careful to make a neat crease.
Step 3
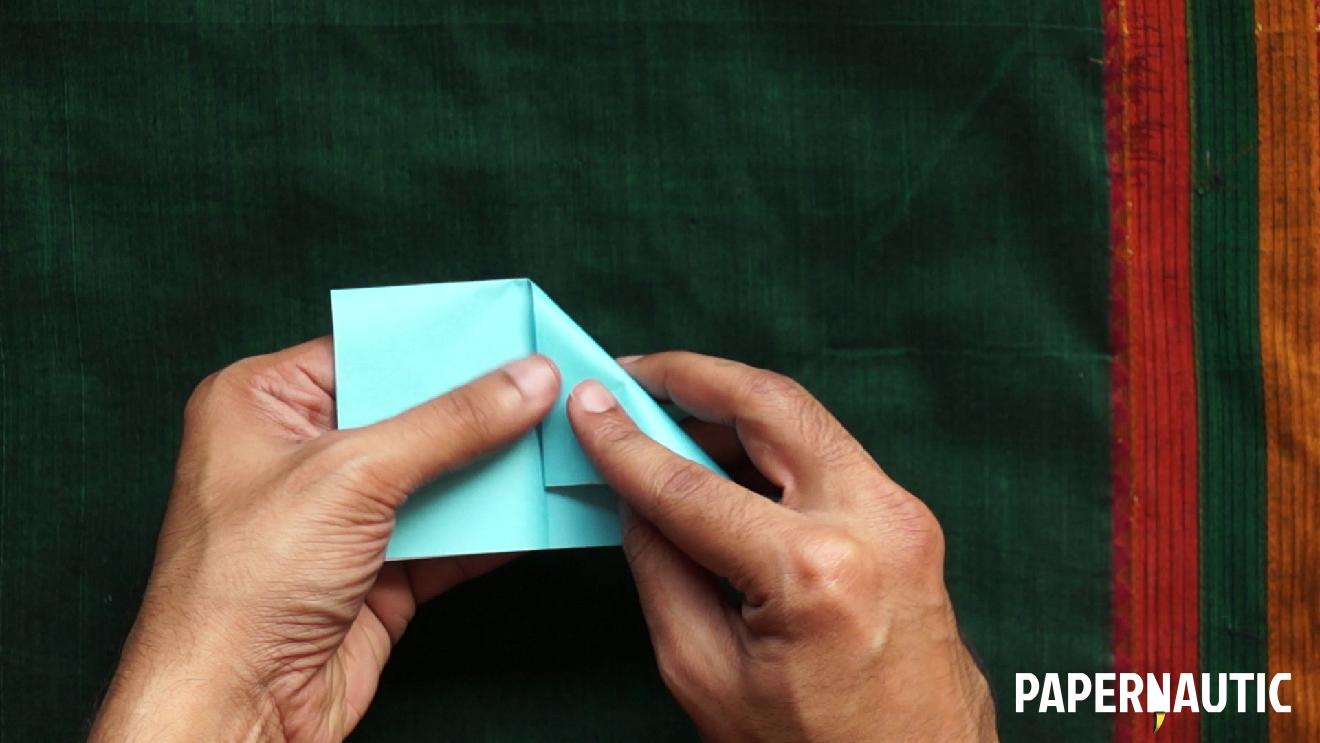
Open up the last fold and now fold down one half of the top folded edge down towards the central crease. It will form a triangle like this.
Step 4

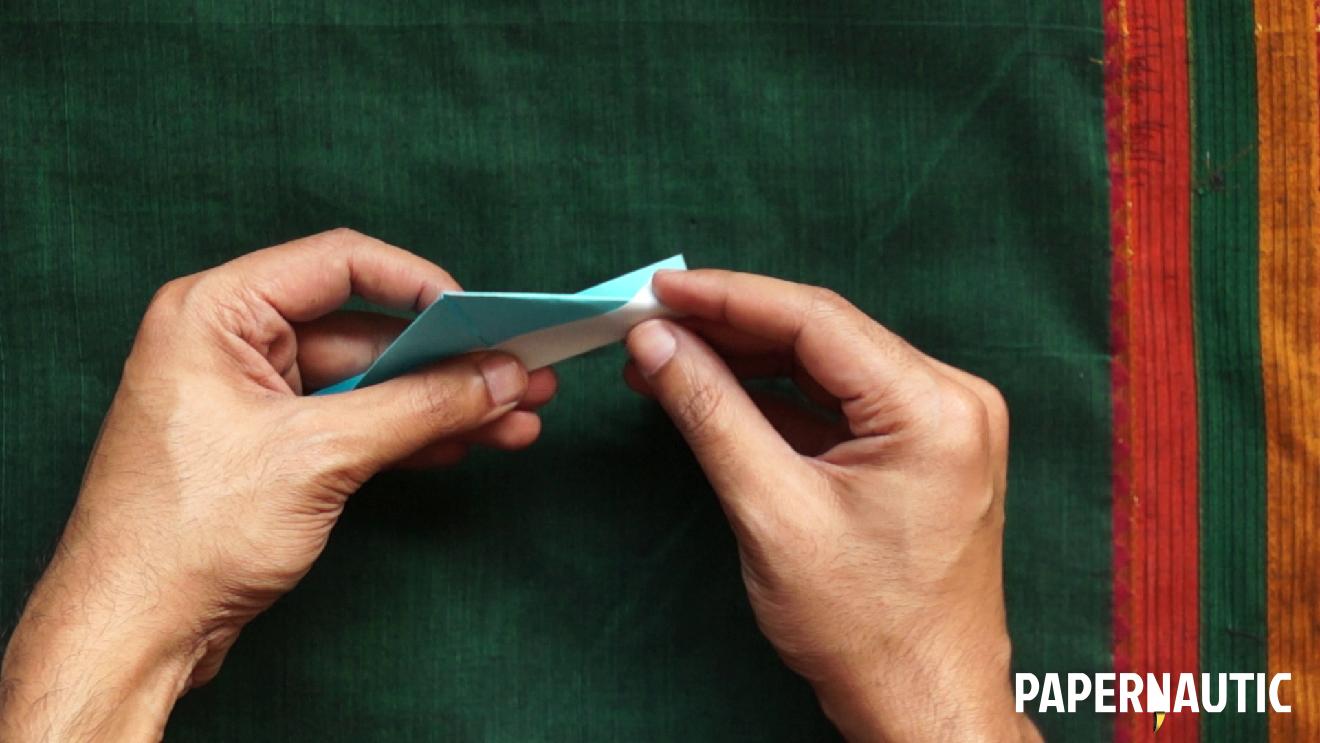
Mirror the same fold on the other half and you’ll create this peak or point at the top of your paper.
Step 5

The model now has two loose layers of paper towards the bottom. Lift the top layer and fold it upwards. Turn the model over and do the same with the bottom flap of the paper again.
Step 6
The model is now almost a perfect triangle except for these extra corners at the bottom. Fold the extra bits over the sides of the thick triangle, and repeat from the other side. Now you have a perfect triangle with a hollow bit at the bottom.
Step 7
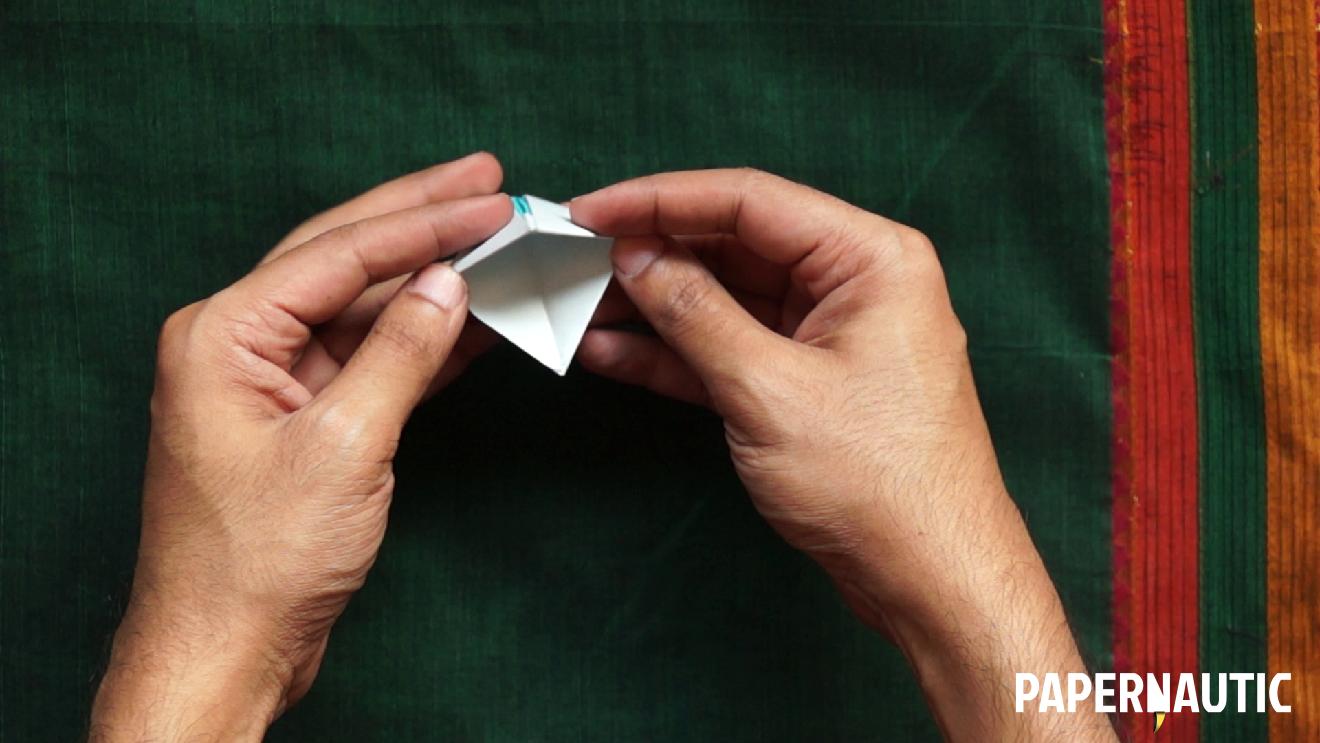
Open up the hollow gap and bring the two side corners of the triangle flat together like this. Fold the rest of it flat to form this small square.
Step 8

The square still has a hollow area inside and one end has two free corners. Fold one of them to the opposite corner like this to form a smaller triangular shape.
Step 9
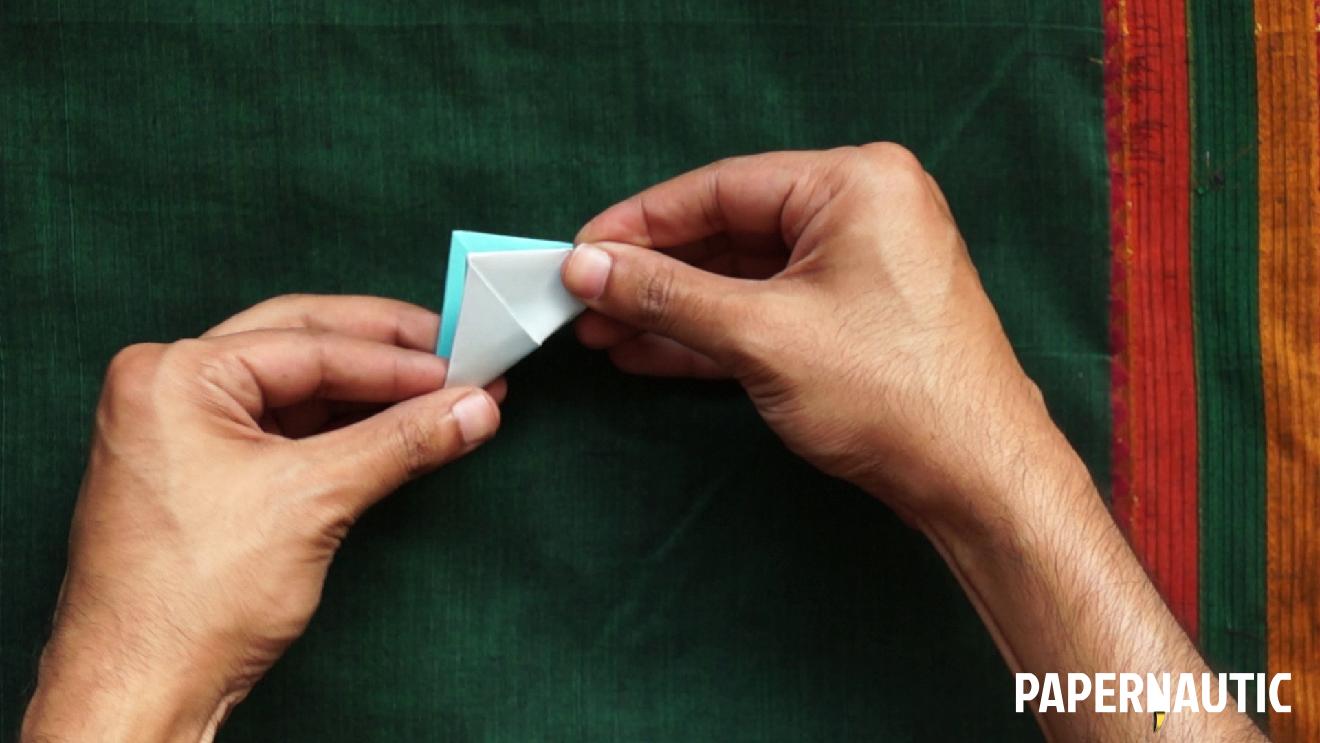
Turn the model over and repeat with the remaining free corner.
Step 10
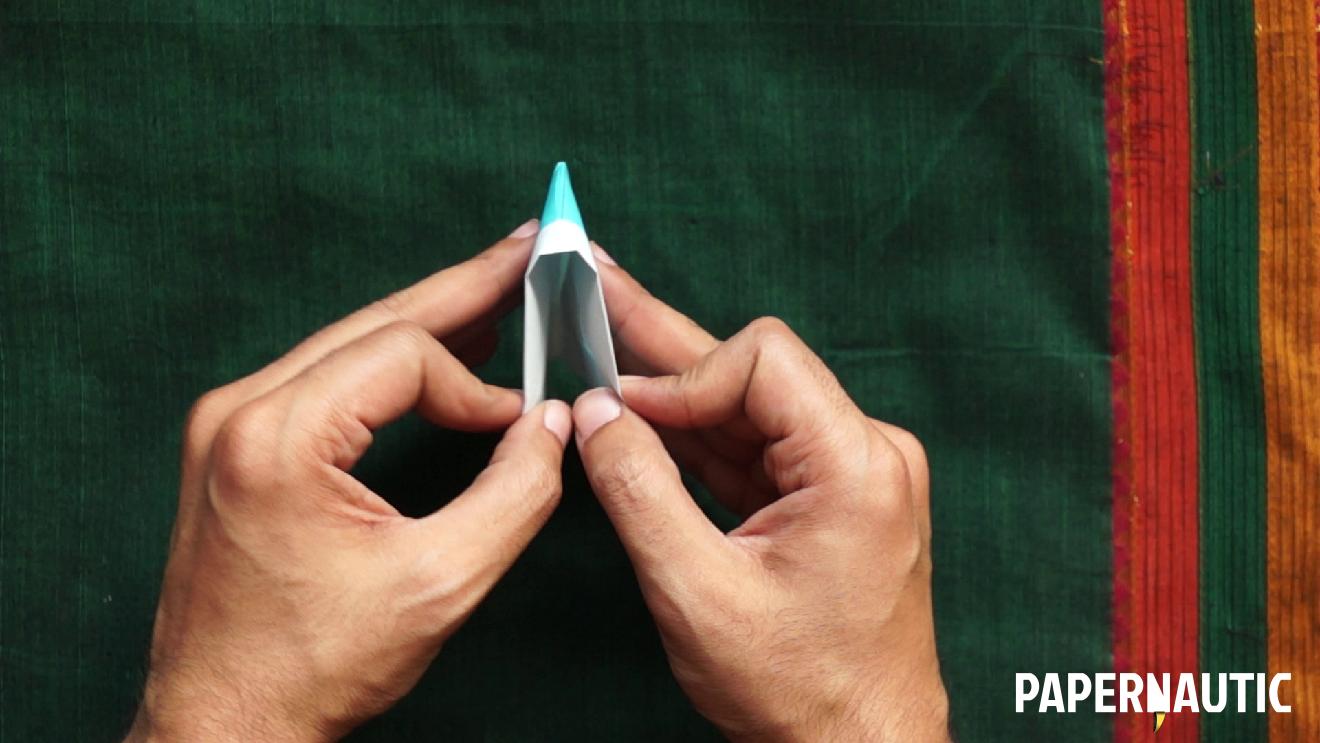
You now have a smaller triangle with a hollow area inside. Like before, open this up and fold it flat into a smaller square.
Step 11

The top end now has two loose triangular corners like you can see here. Pull those apart, and fold the base of the boat flat.
Step 12

Open up the boat model and it should look like this with a triangular shape sticking out from the middle.
That triangular shape is hollow and can be opened up from the bottom. Pull it apart a little to make the boat more stable, It will also help it float on water without tipping over.
Your boat is done. Try it out!
P.S. Please subscribe to Papernautic on YouTube to keep track of the latest videos and tutorials.