Do you remember making paper darts when you were a kid? I do. I remember dozens of them flying through the air on one occasion in school, but that’s a story for another day.
Most of us have made this simple paper plane or dart at some point. It’s not the pinnacle of how to make a paper airplane by any means, but it’s a great place to start discovering origami again. I always liked calling this one The Concorde.
Best Paper for the Paper Dart Airplane
This model needs a rectangular piece of paper, like writing paper or copy paper. This is a very versatile model that works with all sorts of material, but nothing too thick or it won’t fly.
If you’re using square origami sheets, you’ll need to cut out a strip to make it the right shape. Cutting off about 1/4th of a square’s width should give you a good result.
Paper Dart Instructions
Step 1

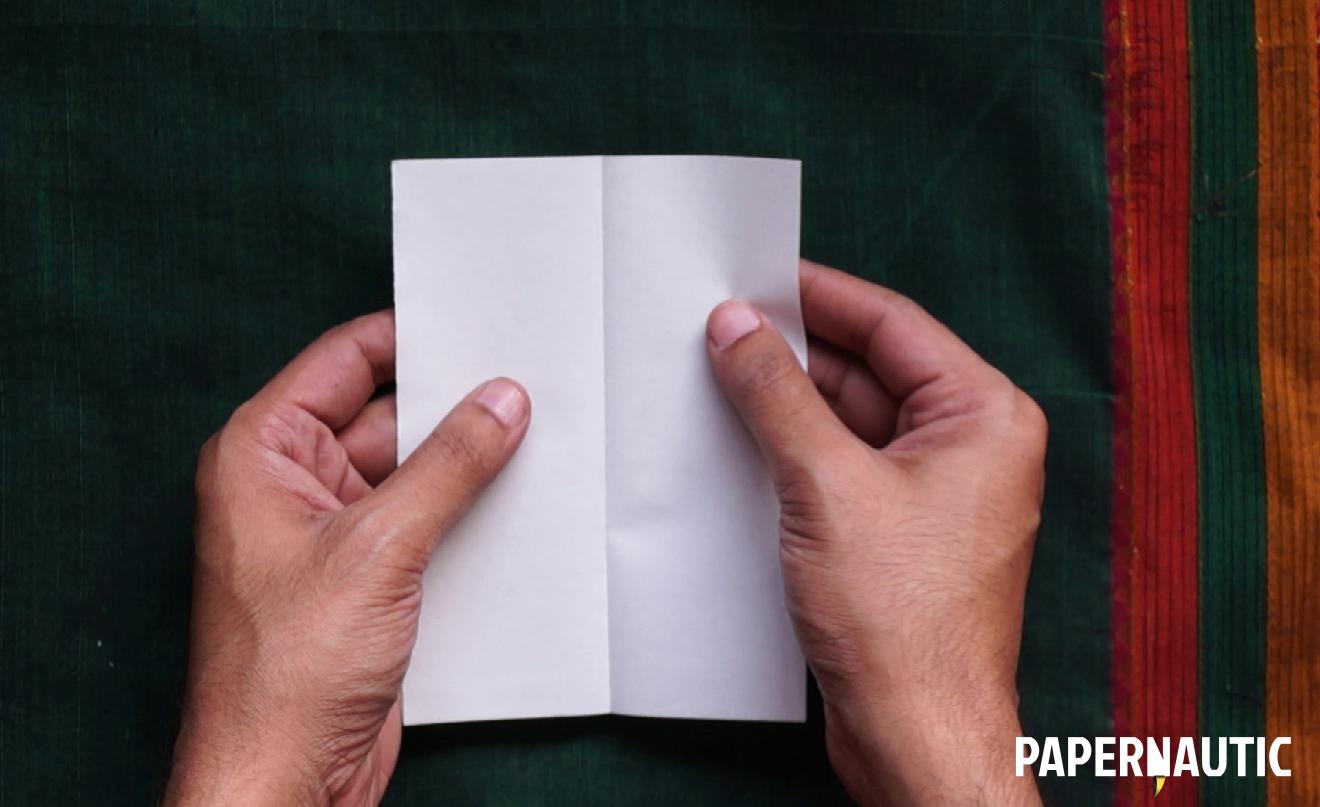
Start by folding the paper in half along the length of it. Join the two longer edges together, and create a crease along the centre.
Step 2

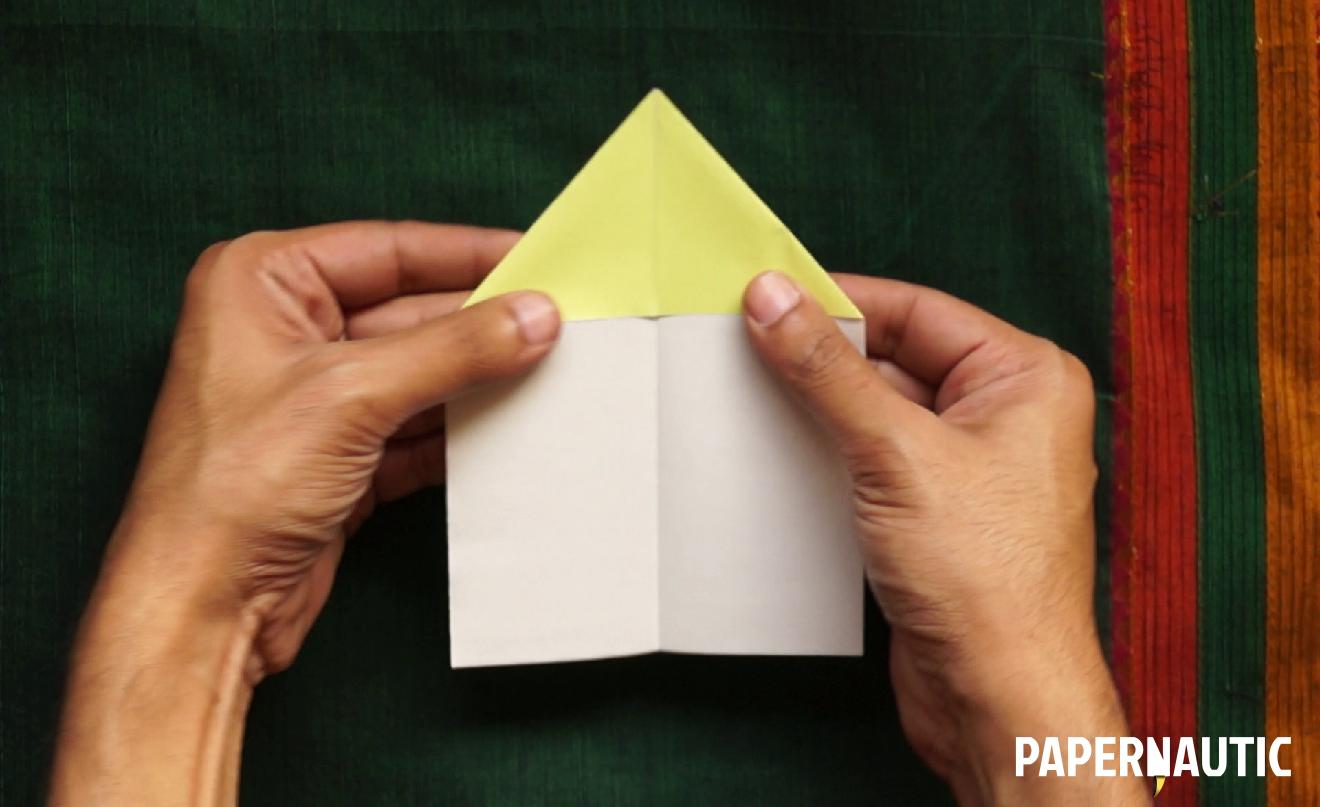
Open it flat again and now fold one half of the top edge down towards the central cease to make a triangle, like this. Now fold the other half of the top edge to complete this point at the top of your paper.
Step 3

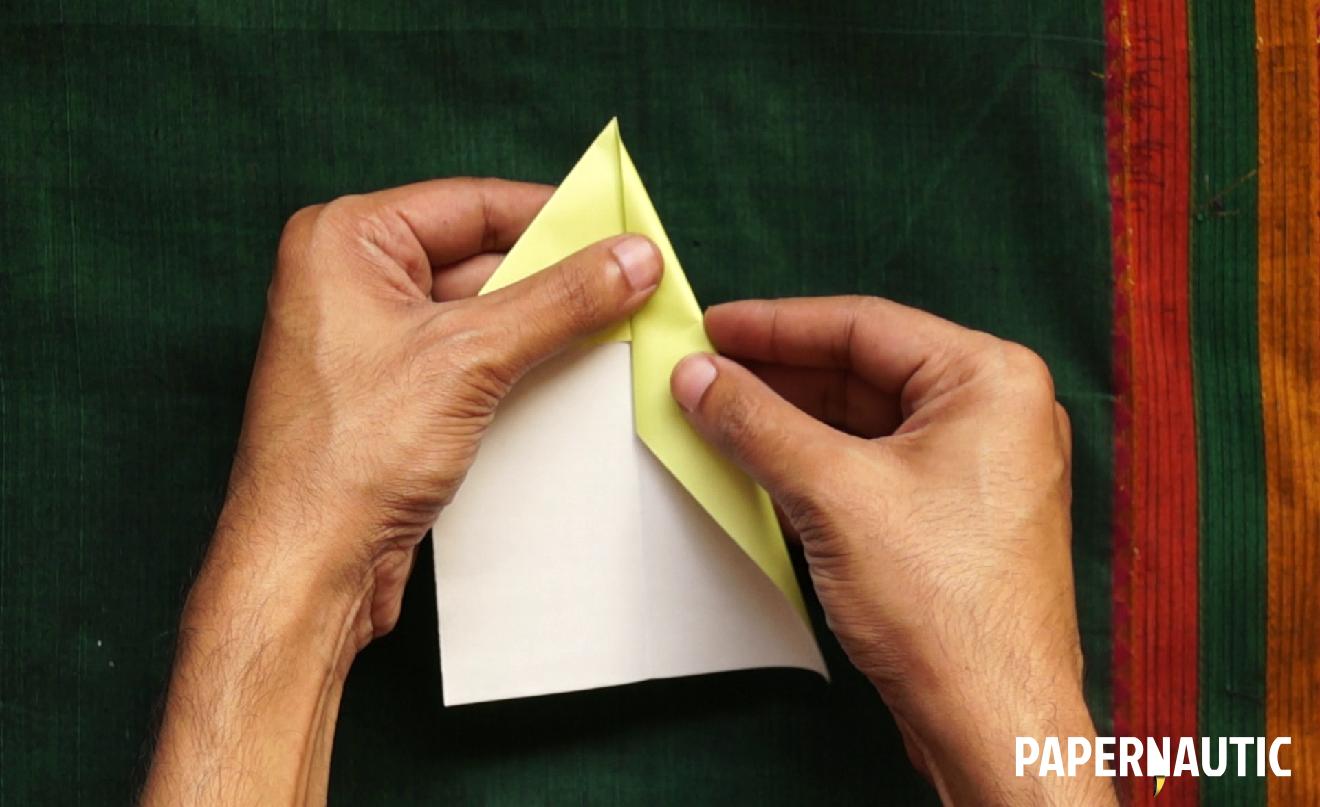
Next, you need to fold one of the diagonal edges to the central crease. Keep the point as sharp and even as you can.
Step 4

Now repeat this on the other half to complete this tall triangular flat shape of your dart.
Step 5

To finish it off, fold the whole thing in half along the central crease again.
Step 6

Fold the long diagonal edge backwards towards the straight central fold to make one wing.
Make sure the point is as clean as you can manage.
Step 7

Turn the model over and repeat the same fold to make the second wing.
Step 8

Unfold the wings a bit so they’re at an angle to the body. When you look at your paper plane from the back, it will be in the shape of the letter ‘T’ or ‘Y’.
Step 9

And you’re done.
Hold the paper dart towards the front of the body, like a pen and throw it as far as it will go. It can have a very sharp point, so avoid throwing it at people’s faces.
Enjoy your flight!
P.S. Please subscribe to Papernautic on YouTube to keep track of the latest videos and tutorials.