We’ve seen the paper pinwheel shape which I hint at in the double-hulled boat video, but this one is different and exciting.
Making paper planes is a well-covered topic with various pointy and winged models that soar through the sky but there’s more than one way to make paper fly elegantly. It’s simpler than it seems once you get the hang of it, so stick around.
Preparing Paper for the Origami Flying Helicopter

Unusually, this one starts with three long and thin strips of paper. The shapes of these can vary quite a lot once you learn how to do this, but to begin with quite long and thin is easier.
Origami Flying Helicopter Instructions
Step 1

Fold each one in half along its length. And we do this because for this model, we need to interlock the three pieces together.
Step 2

Hold one of the pieces in your hand, with the folded side to your left, like this.
Step 3

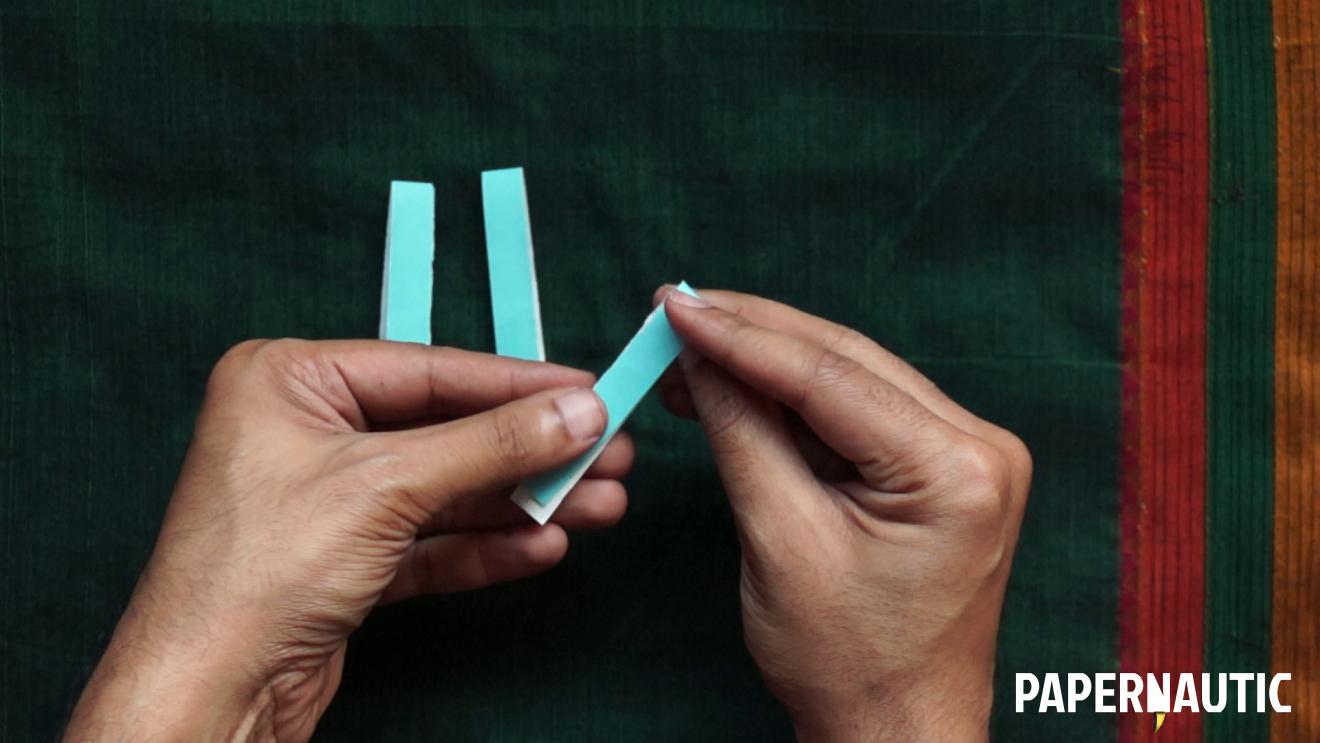
Pick up the second piece, place the folded end away from you, and insert it between the folded halves of the first piece. So it forms this sideways ‘T’.
Step 4

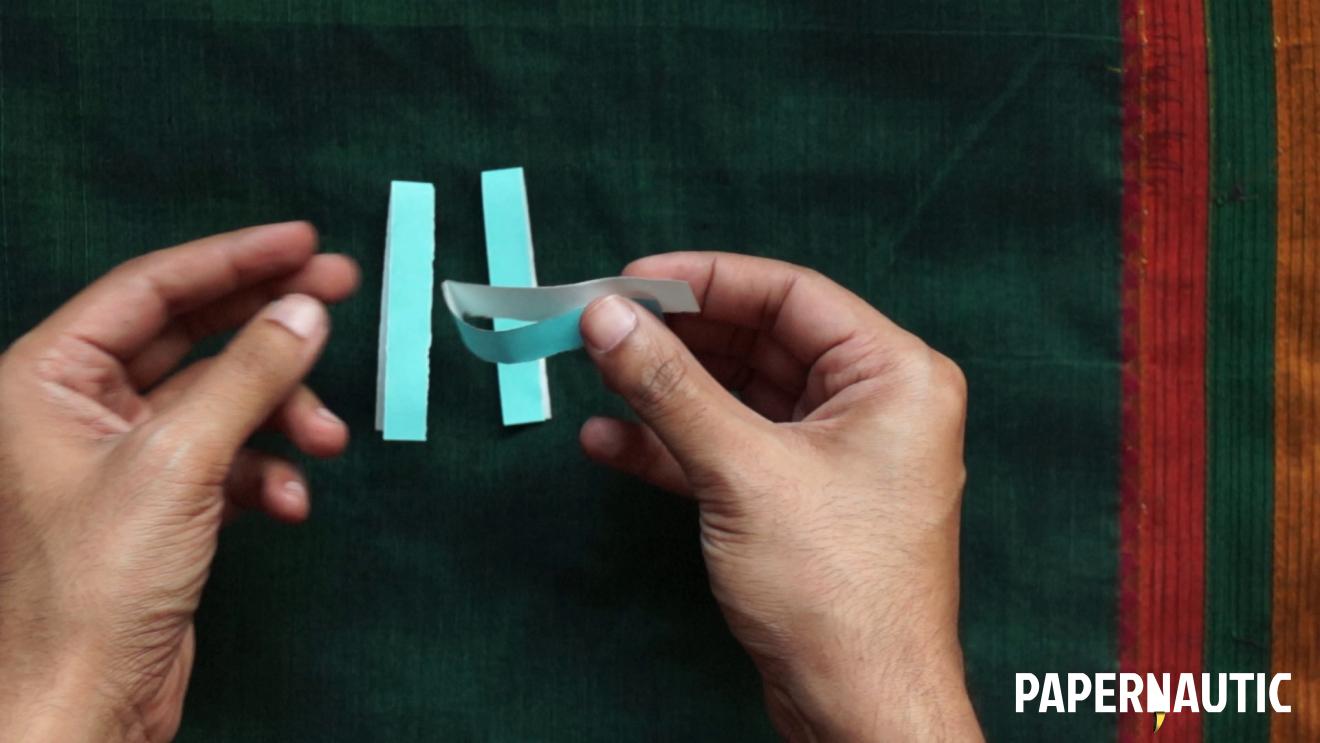
Now pick up the third piece, holding the folded end towards you, and this time spread it apart so that your horizontal piece goes between the two halves of the third piece.
It forms this ‘H’ shape and you’re now ready to make the magic happen.
Step 5

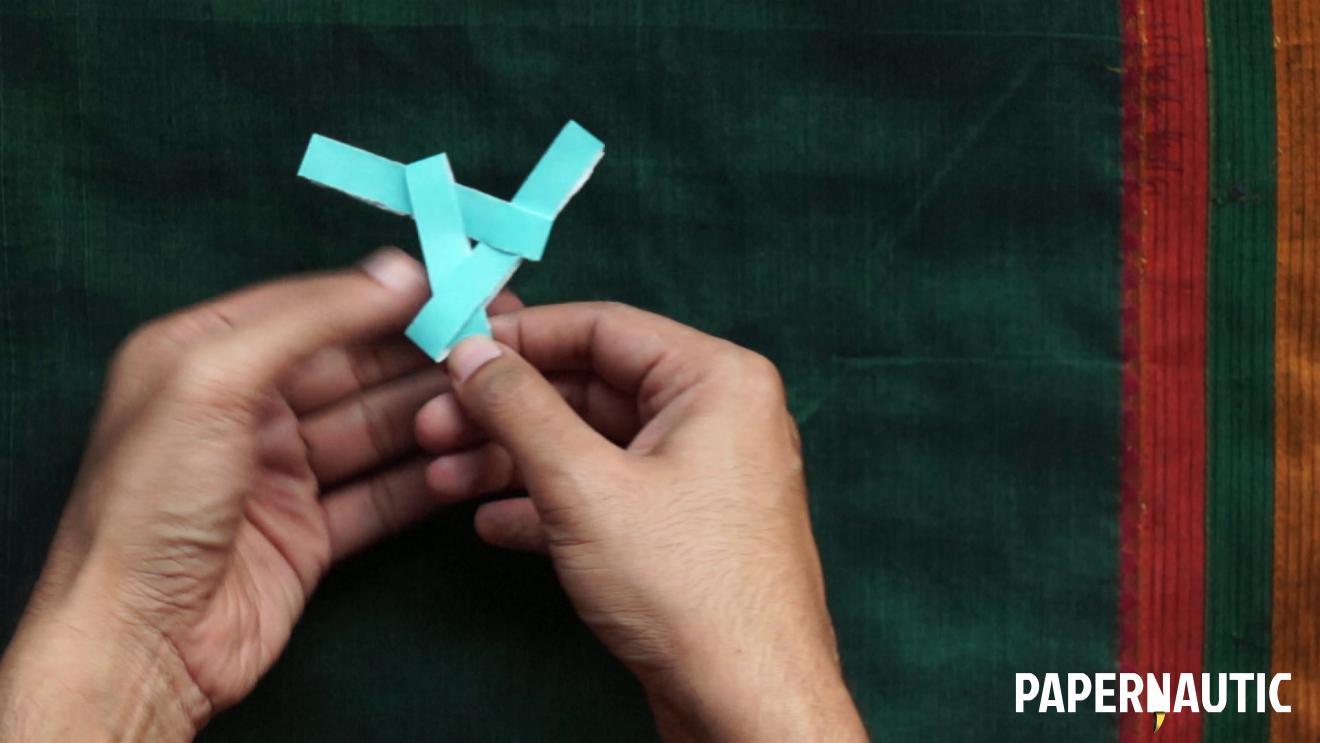
This is the important bit. Tilt the two vertical pieces towards each other at the top. Like an capital ‘A’.
Insert the loose flaps of the piece on the right, into the folded loop of the piece on the left. You’re creating a sort of triangular weave.
Step 6

Slowly pull the loose ends out of the loops they are in. Do it in small increments, one at a time and the central part will start to become tighter and form a conical or pyramid-like form.
Step 7

At some point you can’t pull any more and everything is locked up nicely. Your windmill is ready.
You use it like a pinwheel by placing it on the tip of a pen or pencil, and in the breeze or under a ceiling fan, it will rotate beautifully as an origami windmill. (The classic pinwheel style windmill is a different model which uses a single square paper)
You can also drop it from a height, pointing downwards, and it will go into a nice rotating descent. You have also made an origami flying helicopter.
This can be loads of fun for something that uses a few scraps of paper. Enjoy playing it.
P.S. Please subscribe to Papernautic on YouTube to keep track of the latest videos and tutorials.