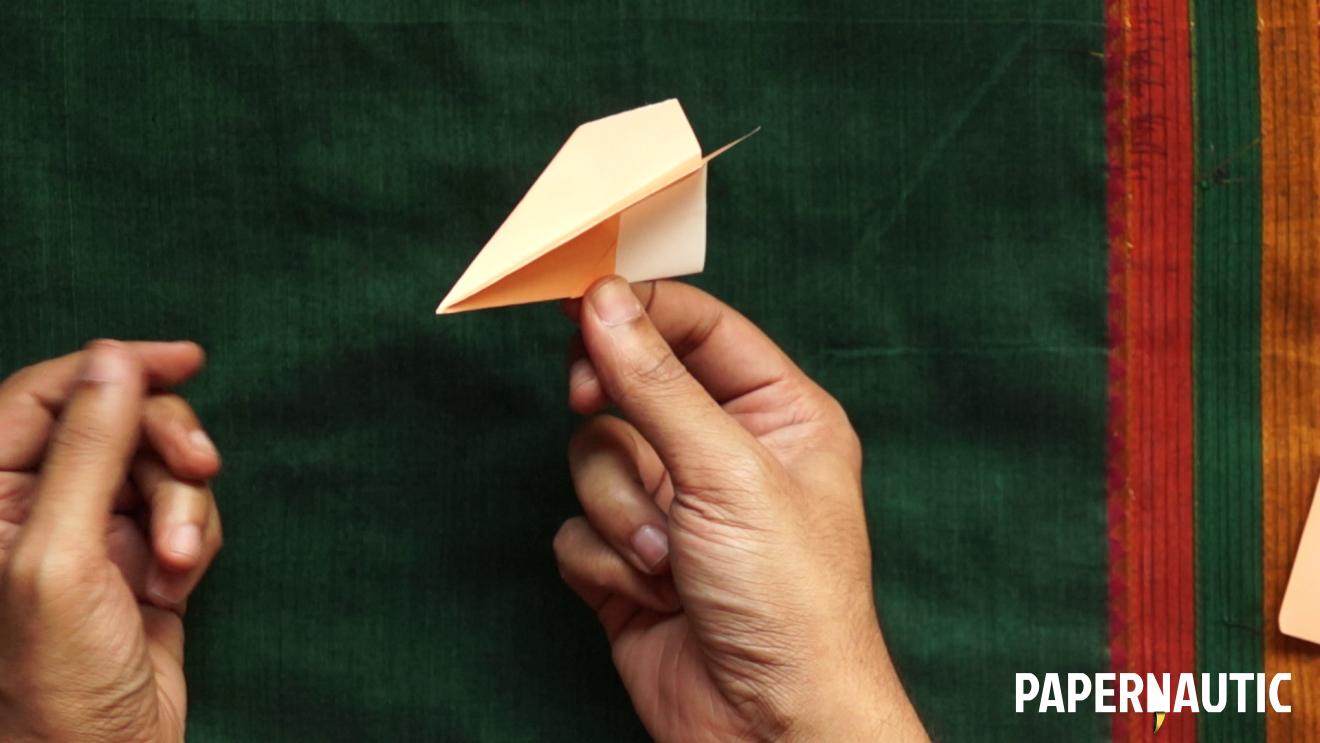
There are a few basic paper planes that are fun to fly, though how to make a paper airplane is a wide and infinite rabbit hole to go down. Besides the simple paper dart covered in a previous video, this is one of the simplest paper planes you can make. As a kid, I always liked to refer to it as the MIG.
Preparing Paper for an Easy Paper Plane

This easy paper plane design requires a tall rectangular paper. So if you’re using regular origami squares, you will need to cut off a broad strip off the side.
Origami Paper Plane Instructions
Step 1

Place the rectangle tall and colour-side down. Fold in half along the length, and then unfold.
Step 2

Fold the top half edge down towards the central crease to form this triangle.
Step 3

And repeat the fold on the other half.
Step 4

You now have this broad triangular shape on top. Pull it down along the base line and then pull further downward, so that there is a bit of an extra band of paper in addition the triangle that’s folded down.
Step 5

Fold one of those coloured half edges at the top towards the central line.
Step 6

Mirror that on the other side.
Step 7

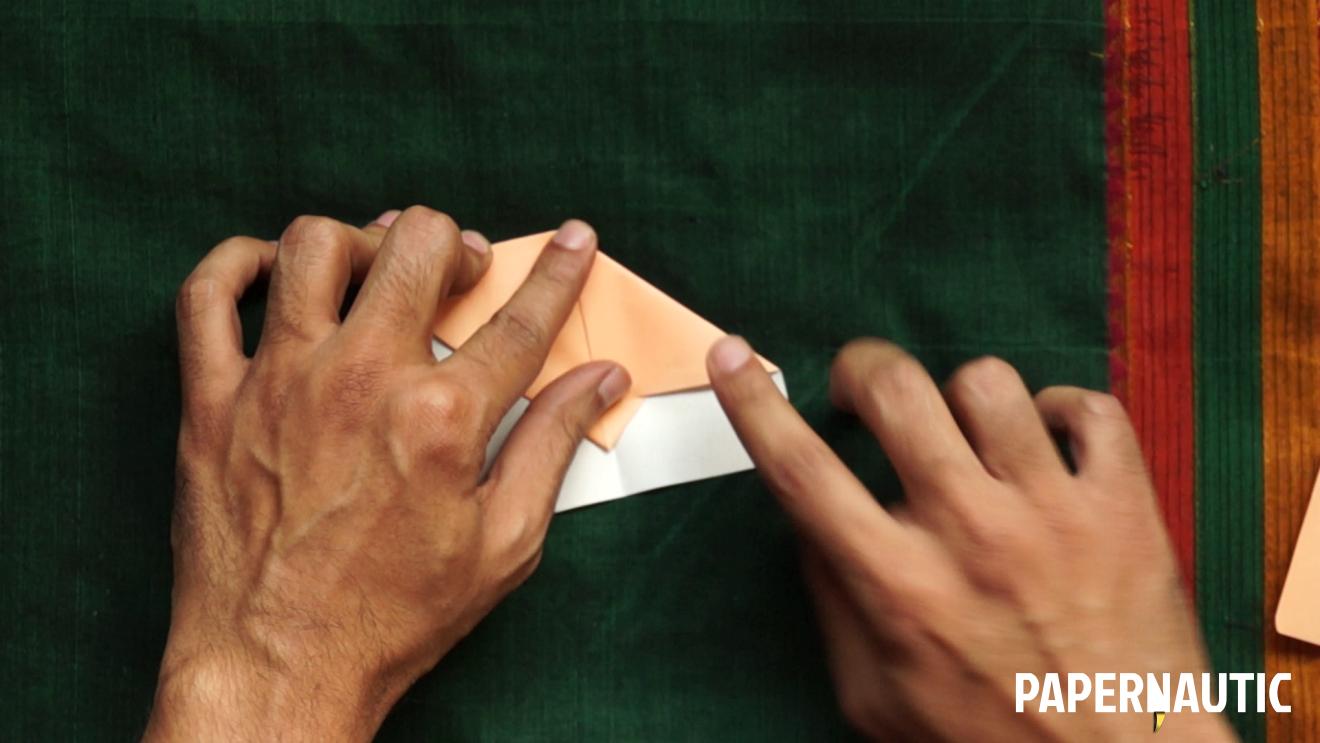
You have a small downward pointing triangle towards the bottom half. Fold that up to lock all the flaps together.
Step 8

Flip it over and fold in half along the central line.
Step 9

Fold one of the coloured slanting edges down towards the central line to form a wing.
Step 10

Flip it over and fold the other wing.
Step 11

Unfold the wings so that they are almost parallel to the ground when you hold the body of your plane in your fingers, and it’s ready to fly.
P.S. Please subscribe to Papernautic on YouTube to keep track of the latest videos and tutorials.