Pretty much the first thing most people discover in origami is some sort of bird model. Usually the traditional crane, but there are a lot of origami birds, and many of them can be quite tricky for the beginner to make. Here’s a nice simple origami pigeon or dove that’s easy for even the most inexperienced fingers.
Origami Pigeon Instructions
Step 1

This model needs a square paper. Start with the coloured side at the bottom and fold along a diagonal.
Step 2

Fold the resulting triangle in half again and unfold to form this crease.
Step 3

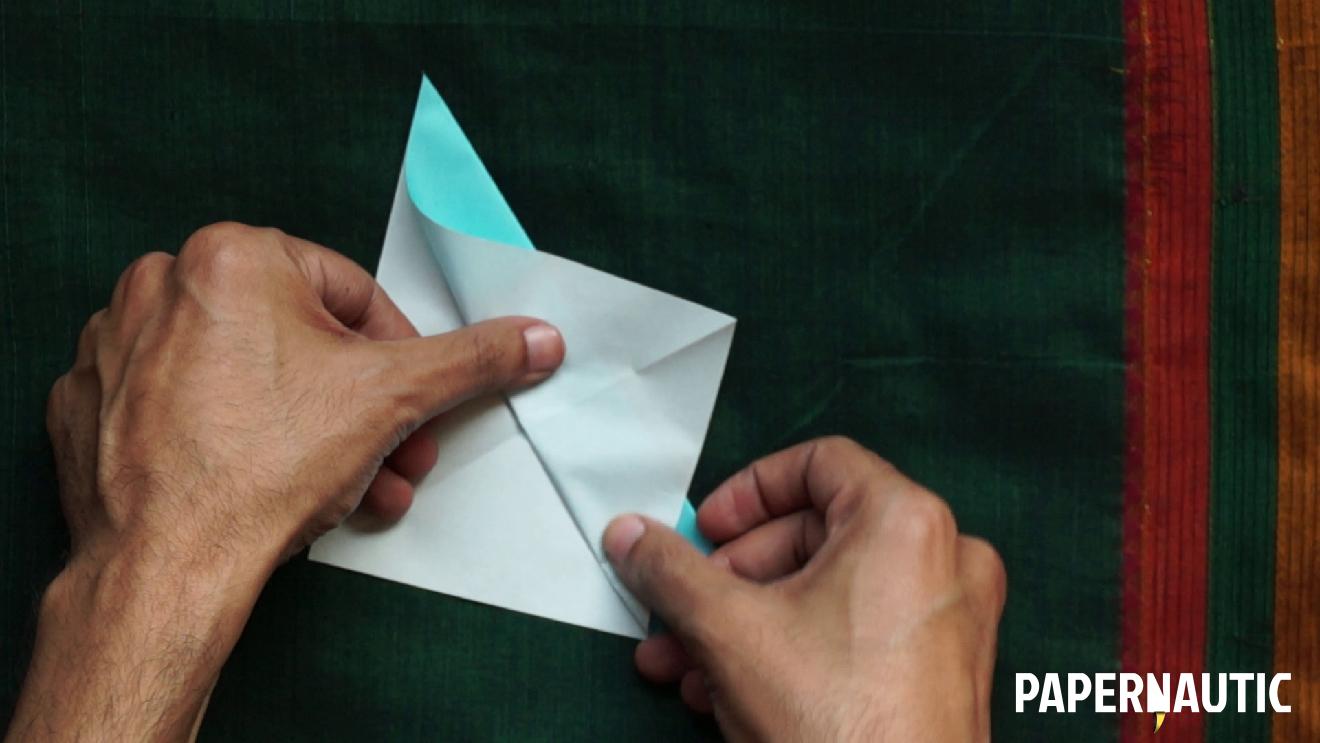
Now lift the top layer of the folded square and fold it along a line parallel to the longest side of the triangle. So now there’s a pointed corner on the left and right.
Step 4

Fold the model in half again along the crease we’d created earlier.
Step 5

Fold the pointed lower corner up at an angle, and over the flat folded edge in a wing shape.
Step 6

Repeat this on the other side.
Step 7

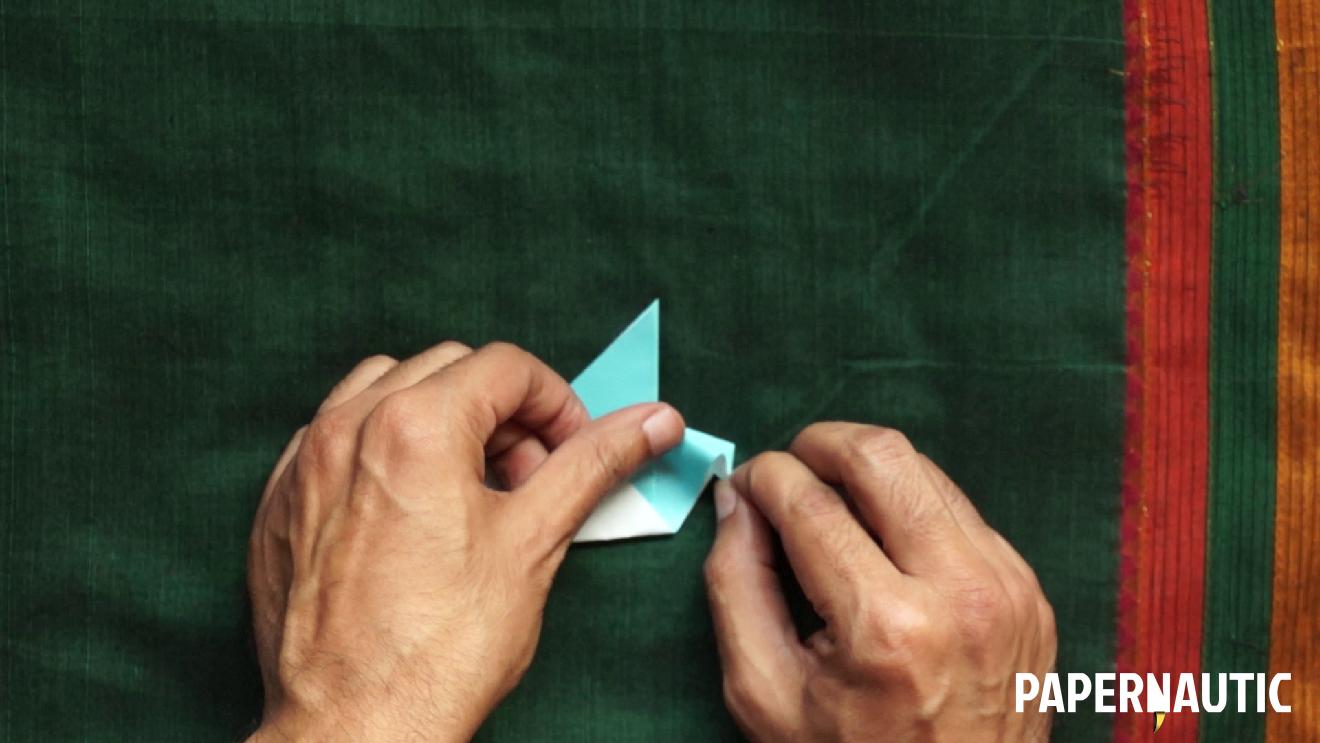
The left and right side of your model should be different heights. On the higher side, fold the corner downward and on the inside between the two layers. It’s called an inside reverse fold. This forms the head and beak.
Step 8

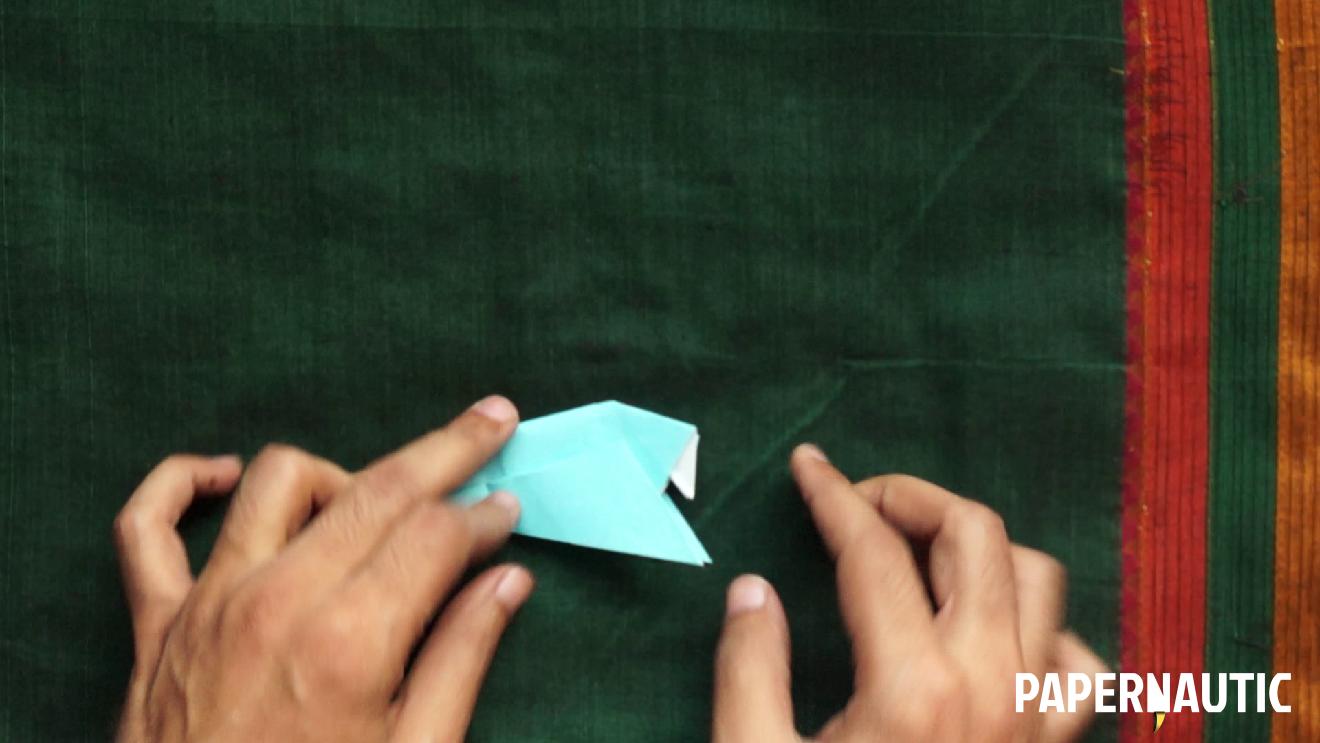
On the other end do a larger inside reverse fold, following the line of the wing to produce the fan-like tail shape.
Step 9

Fold the spread wing down again, about halfway down the body.
Step 10

Repeat on the other side.
Step 11

Unfold the wings so that they’re pointing upwards again, and your simple origami pigeon or dove is done.
P.S. Please subscribe to Papernautic on YouTube to keep track of the latest videos and tutorials.