I remember playing with this inflated origami ball and a pair of pencil boxes as racquets when I was a child. There was something magical about making your own ball, however flimsy. This inflatable model goes by many names, including a water bomb, which is how it could also be used. Whatever you want to call, here’s how it’s done.
Origami Water Bomb Instructions
Step 1

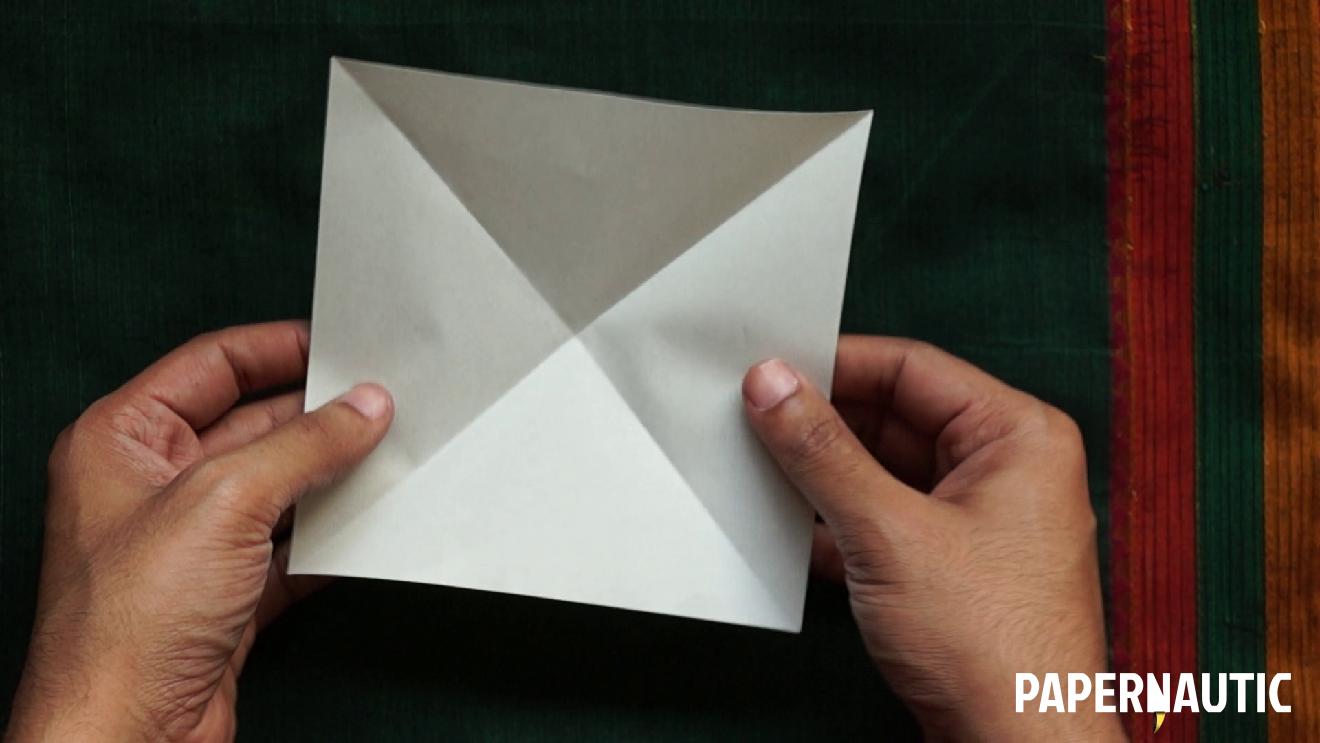
Start with a square. Keep the colour side down and fold along a diagonal. Open it up and fold along the second diagonal.
Step 2

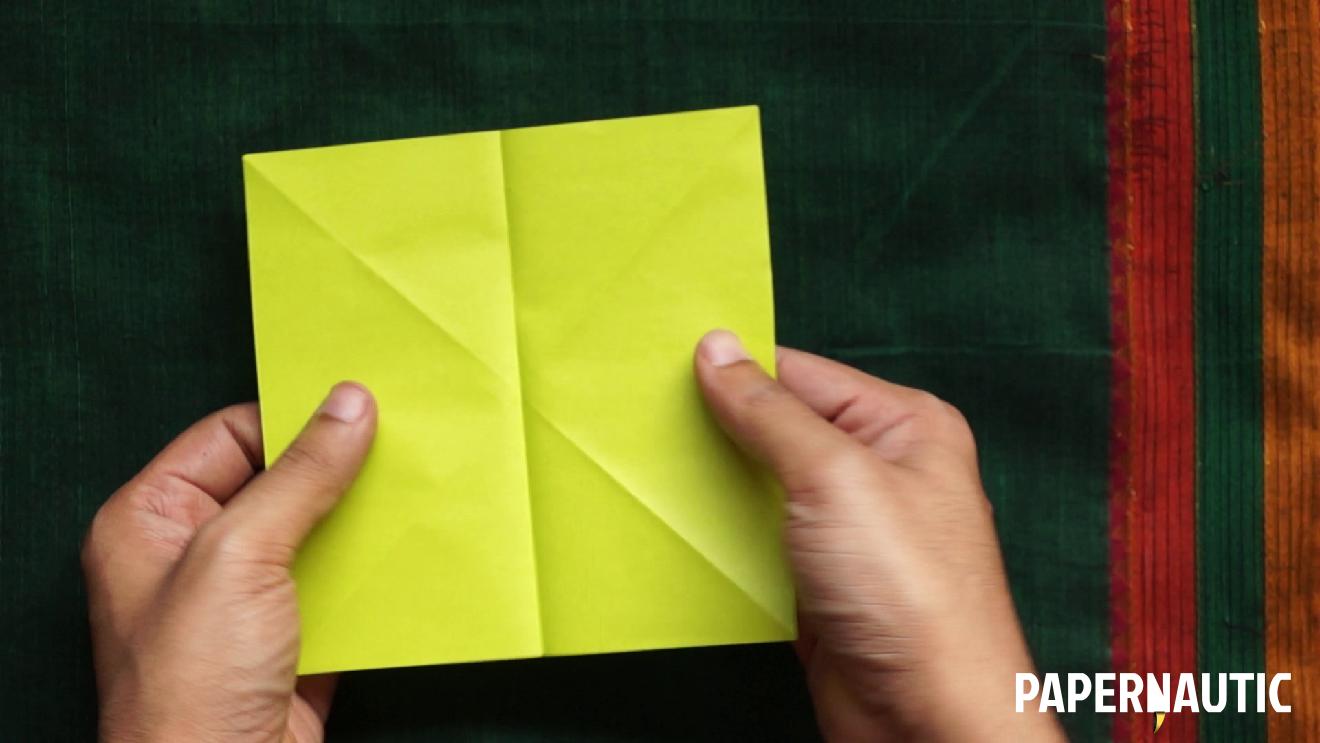
Open it up, lay the square flat, this time colour side up, and fold the square in half along the length or width.
Step 3

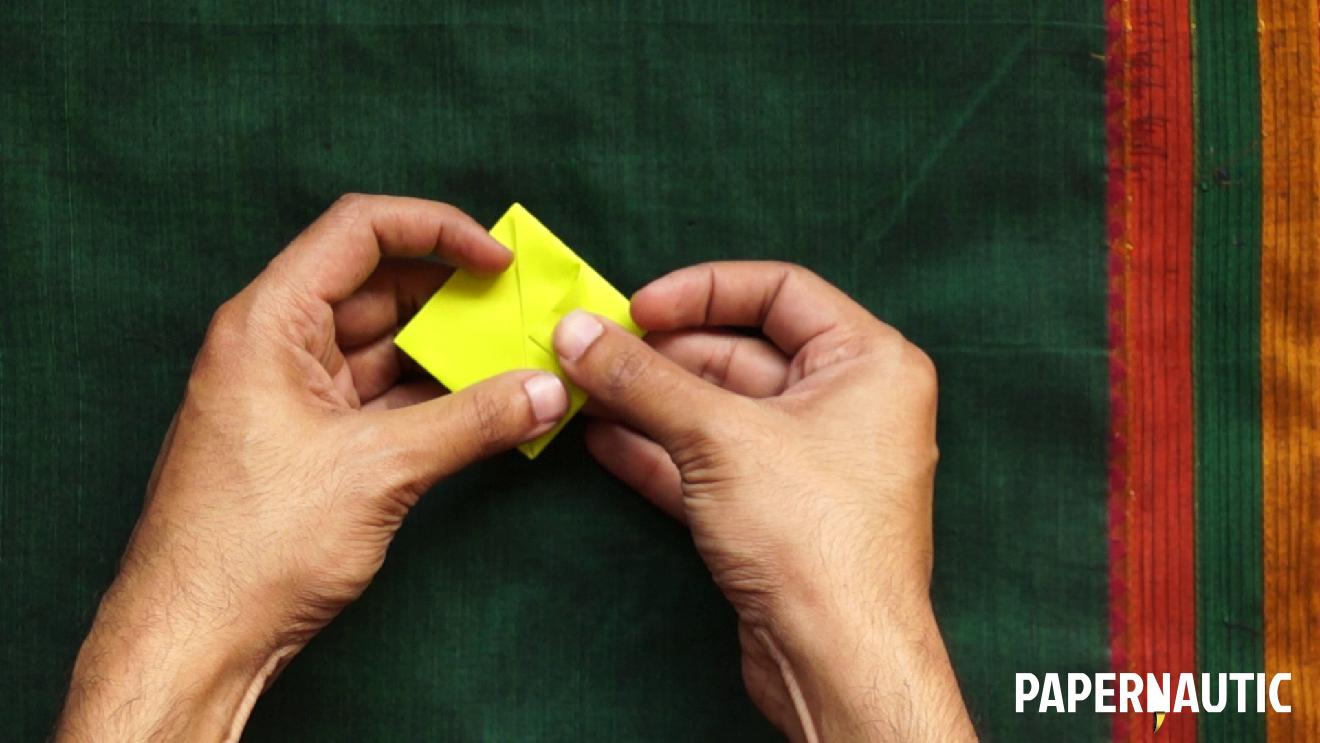
Open it up and all the creases you’ve just made lets the paper collapse into this double-triangle shape.
Step 4

Lay it flat with the point upwards and fold one of the bottom corner layers up to the top point, like this. Mirror this on the other half.
Step 5

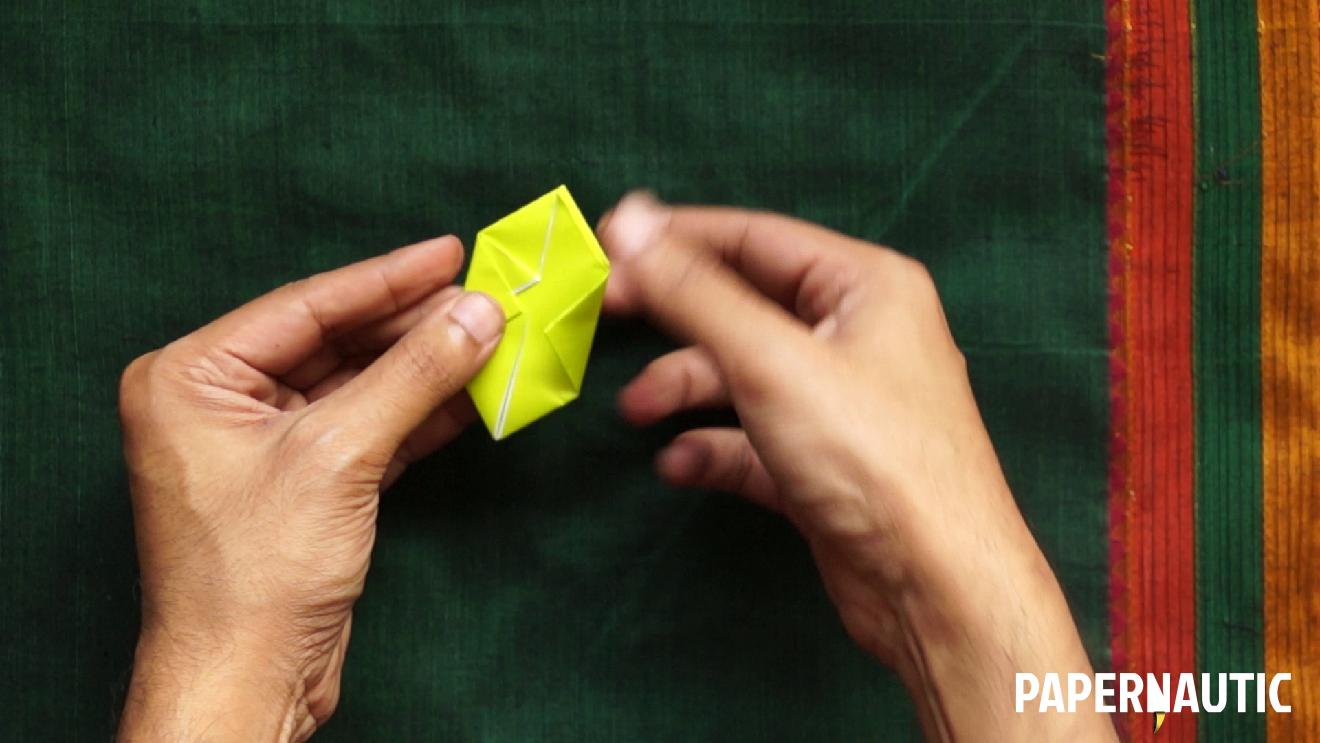
Now flip it over and make the same folds again with the remaining bottom corners. Keep these as clean and precise as possible. And you get this.
Step 6

Next, you need to fold these corners on the the side towards the central line. Mirror the same on two sides of the line.
Step 7

You now have this free flap at the top. Fold that downwards and insert it into this small triangular pocket formed by the folded side corners.
Step 8

Mirror this fold and then flip the model over and repeat it on the other side.
Step 9

The folding is done. Open up the four lobes of the model and you’ll notice that the bottom end has a hole leading into the hollow inside.
Step 10

Hold on to the sides and blow into the hole to inflate it into a ball. Pull the sides and flaps to smoothen out any unevenness and your water bomb, paper balloon or origami is ready to play with.
P.S. Please subscribe to Papernautic on YouTube to keep track of the latest videos and tutorials.